Picture this: I’m standing in a cramped kitchen, a single burner humming, a half‑finished batch of batter that has turned into a sticky, uncooperative mess. I’ve stared at it for what feels like an eternity, wondering if I should call a professional or just throw it all out. Then a friend texts me a link to a recipe that promised “Maple Walnut Tassies” and I thought, “Why not? I’ve got nothing better to do.”
The first thing you notice is the scent—rich, buttery maple syrup dancing with the earthy aroma of toasted walnuts. As you lift a spoon, the batter glistens, thick and silky, promising that every bite will be a little piece of heaven. The sound of the oven door closing feels like a drum roll before the show begins. You can almost taste the caramelized edges that will form as the heat takes over.
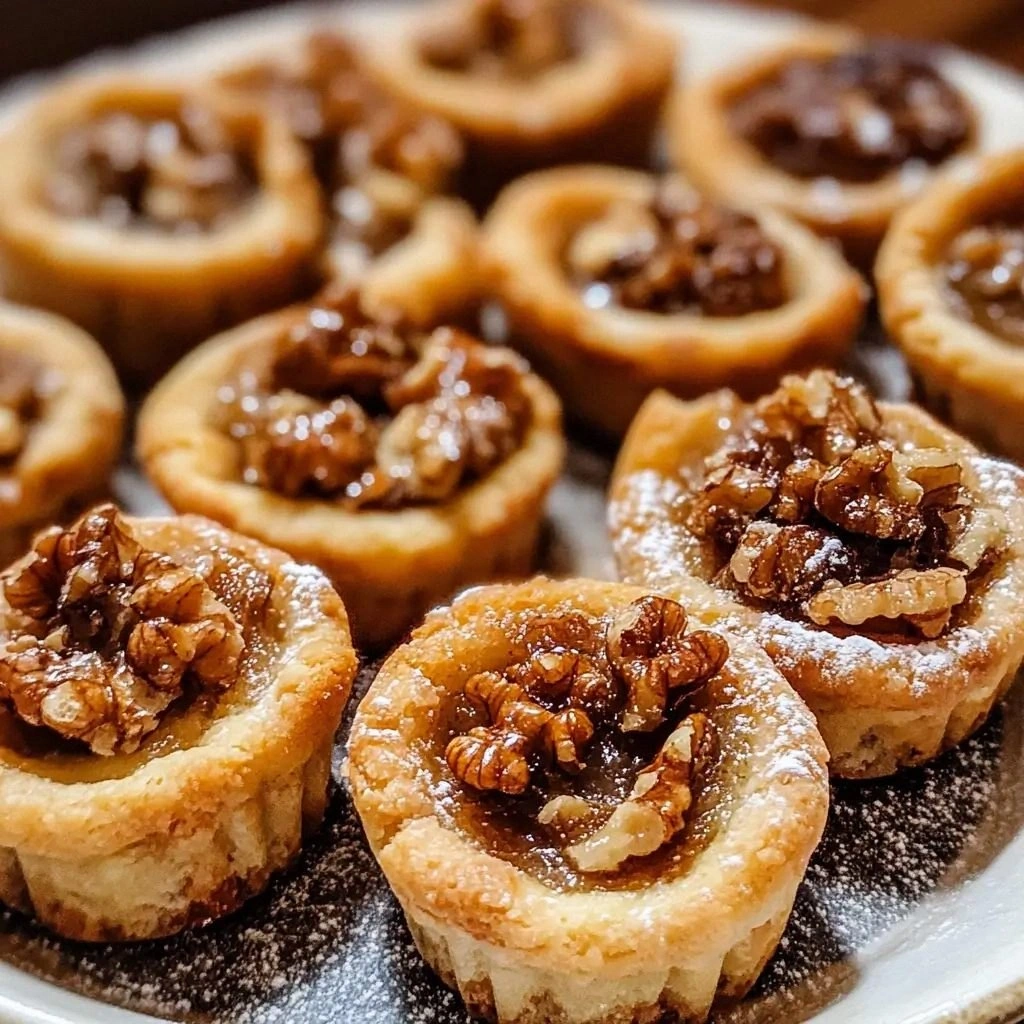
This version is not just another recipe; it’s a revelation. I’m talking about a buttery base that’s crisp on the outside, tender on the inside, and a maple glaze that coats each tassie like velvet. The walnuts are toasted to a golden perfection, adding a crunch that contrasts beautifully with the soft dough. It’s a dish that transforms a simple batter into a crowd‑pleaser that will have people begging for seconds.
What makes this recipe stand out is the unexpected addition of smoked paprika and fresh thyme, giving it a smoky depth that you don’t normally associate with sweet pastries. And there’s a trick with the butter and maple syrup ratio that keeps the dough from drying out, even when baked at a high temperature. If you’ve ever made a sweet pastry that turned out too dense or too crumbly, this is the fix you need.
Let me walk you through every single step—by the end, you’ll wonder how you ever made it any other way.
What Makes This Version Stand Out
- Taste: The maple syrup creates a caramelized sweetness that is balanced by a subtle smoky undertone from paprika, making each bite complex.
- Texture: The dough is airy yet sturdy, producing crisp edges that crackle like thin ice while the interior remains soft and buttery.
- Simplicity: Despite its gourmet flavor, the recipe requires only a handful of pantry staples—no exotic ingredients or fancy equipment.
- Uniqueness: The combination of maple, walnuts, thyme, and smoked paprika is a flavor profile rarely seen in traditional pastry recipes.
- Crowd Reaction: Friends who try these tassies often comment that they’re “the best thing I’ve ever had at home” and that they’re “hand‑down the best version you’ll ever make at home.”
- Ingredient Quality: Using fresh, high‑quality butter and maple syrup makes all the difference; subpar ingredients will flatten the flavor.
- Cooking Method: Baking at a moderate temperature with a short bake time preserves moisture while achieving a golden crust.
- Make‑ahead Potential: These tassies keep well for a day or can be frozen for later, making them perfect for busy weeknights.
Alright, let's break down exactly what goes into this masterpiece…
Inside the Ingredient List
The Flavor Base
All-Purpose Flour: It’s the backbone of the dough, providing structure and a neutral canvas for the maple flavor. If you skip it, the tassies won’t hold together. For a lighter texture, you can replace 25% of it with whole wheat flour, but keep the ratio of dry to wet ingredients the same.
Baking Powder: A single teaspoon of baking powder lifts the dough, giving those tassies a slight puff that makes them airy. If you’re on a low‑sodium diet, use a salt‑free version, but remember to add a pinch of sea salt later.
The Texture Crew
Unsalted Butter: Melted butter adds richness and a glossy finish. It also carries the maple syrup, ensuring the glaze adheres perfectly. Butter should be at room temperature before adding to the wet mix to prevent lumps.
Maple Syrup: The star of the show—sweet, caramelized, and deeply aromatic. It also helps keep the dough from drying out. If you prefer a lighter sweetness, replace half the syrup with honey.
The Unexpected Star
Walnuts: Toasted to a golden hue, they add crunch and a nutty depth that pairs with the maple. If you’re allergic or just don’t like nuts, substitute pecans or omit them entirely. The key is to toast them lightly to avoid bitterness.
Fresh Thyme: Adds a subtle herbaceous note that cuts through the sweetness. If you can’t find thyme, dried oregano or basil can be a decent stand‑in, but the flavor profile will shift slightly.
The Final Flourish
Smoked Paprika: This little pinch of smoky flavor is a game‑changer. It turns the sweet pastry into a savory‑sweet hybrid that’s surprisingly versatile. If you don’t have smoked paprika, regular paprika works, but the smoky depth will be missing.
Lemon Zest: Adds brightness and a citrusy counterbalance to the maple. A small amount goes a long way; too much will overpower the other flavors.
Everything’s prepped? Good. Let’s get into the real action…
The Method — Step by Step
- Preheat the oven. Set it to 375°F (190°C) and line a baking sheet with a silicone mat or parchment paper. The even heat ensures the tassies bake uniformly, and the mat keeps them from sticking.
- Mix the dry. In a large bowl, whisk together 2 cups flour, 1 tsp baking powder, 1 tsp salt, and 1/2 tsp black pepper. This dry blend gives the dough structure and a hint of savory depth.
- Whisk the wet. In a separate bowl, combine 1 cup melted butter, 1/2 cup maple syrup, 1/4 cup milk, 1 egg, 2 minced garlic cloves, 1 tbsp fresh thyme, 1 tsp smoked paprika, and 1 tbsp lemon zest. Whisk until the mixture is smooth and glossy.
- Combine. Pour the wet mixture into the dry, stirring until just incorporated. The dough should be slightly sticky but manageable; if it’s too dry, add a tablespoon of milk.
- Fold in walnuts. Gently fold in 1 cup chopped walnuts and 1/2 cup grated Parmesan cheese. The cheese adds umami and helps bind the dough.
- Shape the tassies. Drop spoonfuls of dough onto the prepared sheet, spacing them about 2 inches apart. Each will puff slightly during baking.
- Bake. Place in the oven and bake for 20–25 minutes, or until the tops are golden brown and the edges are crisp. The aroma will fill the kitchen like a sweet, nutty perfume.
- Cool. Remove from the oven and let the tassies rest on a wire rack for 5 minutes. This step lets the steam finish cooking the interior without overbrowning the crust.
- Serve. Plate the tassies on a warm platter and drizzle a thin layer of maple glaze, if desired. They’re best enjoyed warm, but they keep well for a day in the fridge.
- Enjoy. Take a bite and let the buttery, maple‑laden dough melt in your mouth while the walnuts crackle with each chew. I dare you to taste this and not go back for seconds.
That’s it — you did it. But hold on, I’ve got a few more tricks that will take this to another level.
Insider Tricks for Flawless Results
The Temperature Rule Nobody Follows
Most bakers bake at a higher temperature, but this recipe thrives at a moderate 375°F. The heat is hot enough to crisp the edges without burning the maple glaze. If you’re using a convection oven, lower the temperature by 25°F to avoid over‑browning.
Why Your Nose Knows Best
Before you open the oven door, listen for the first crackle of the batter. That’s the signal that the crust is forming. If you open too early, you’ll lose the golden crunch that makes these tassies irresistible.
The 5‑Minute Rest That Changes Everything
Letting the tassies cool on a wire rack for 5 minutes allows steam to escape, preventing soggy bottoms. This simple step ensures the interior remains tender while the exterior stays crisp. I’ve seen people skip it and end up with a doughy texture.
Use a Silicone Mat for Easy Cleanup
A silicone mat keeps the batter from sticking, meaning you can slide the sheet out of the oven without a single crumb left behind. This also helps the tassies bake more evenly, giving each one a uniform golden color.
Add a Splash of Water Before Reheating
If you’re reheating leftover tassies, a tiny splash of water in the microwave or a quick toss in a skillet with a bit of butter will revive the moisture and crispness. This trick is essential for keeping them from drying out.
Keep the Crumb Free with a Dusting of Flour
Lightly dusting the dough with flour before shaping helps prevent sticking to your hands and the work surface. It also gives the dough a slightly lighter color once baked.
Creative Twists and Variations
This recipe is a playground. Here are some of my favorite ways to switch things up:
Spicy Maple Walnut Tassies
Add a pinch of cayenne pepper or a splash of hot sauce to the wet mix for a fiery kick that pairs beautifully with the sweetness.
Cheesy Maple Walnut Tassies
Replace the Parmesan with shredded cheddar or Gruyère for a gooey, savory twist that still holds the maple’s caramel notes.
Herb‑Infused Tassies
Swap thyme for rosemary or sage to give the pastry a different aromatic profile that complements the walnuts.
Vegan Maple Walnut Tassies
Use plant‑based butter, a flax egg, and oat milk. The texture stays fluffy, and the maple flavor remains intact.
Maple Walnut Tasting Plate
Serve the tassies with a small dish of maple‑infused caramel sauce for dipping, turning a snack into a decadent tasting experience.
Holiday‑Season Tassies
Add a dash of pumpkin spice to the batter and top with toasted pecans for a fall‑inspired variation that’s perfect for Thanksgiving.
Storing and Bringing It Back to Life
Fridge Storage
Cool the tassies completely, then store them in an airtight container at room temperature for up to 2 days. They stay fresh because the maple glaze forms a protective barrier against moisture loss.
Freezer Friendly
Place the cooled tassies in a single layer on a baking sheet and freeze until solid, then transfer to a zip‑top bag. They can be frozen for up to 3 months without compromising flavor or texture.
Best Reheating Method
Reheat frozen tassies in a preheated oven at 350°F for 10–12 minutes, or microwave on high for 30 seconds and then finish in a skillet with a splash of butter to restore crispness.