I remember the night I tried to impress my roommate with a cheesecake that was supposed to be “light” and “fluffy.” The oven timer clicked, the batter looked promising, but when I pulled it out the center was still a puddle of goo. My roommate laughed, “You just made a low‑point disaster.” I stared at the wobbling cake, a guilty grin spreading across my face. That moment sparked a quest: how could I turn a low‑calorie dessert into a show‑stopper that feels indulgent yet stays on the lighter side?
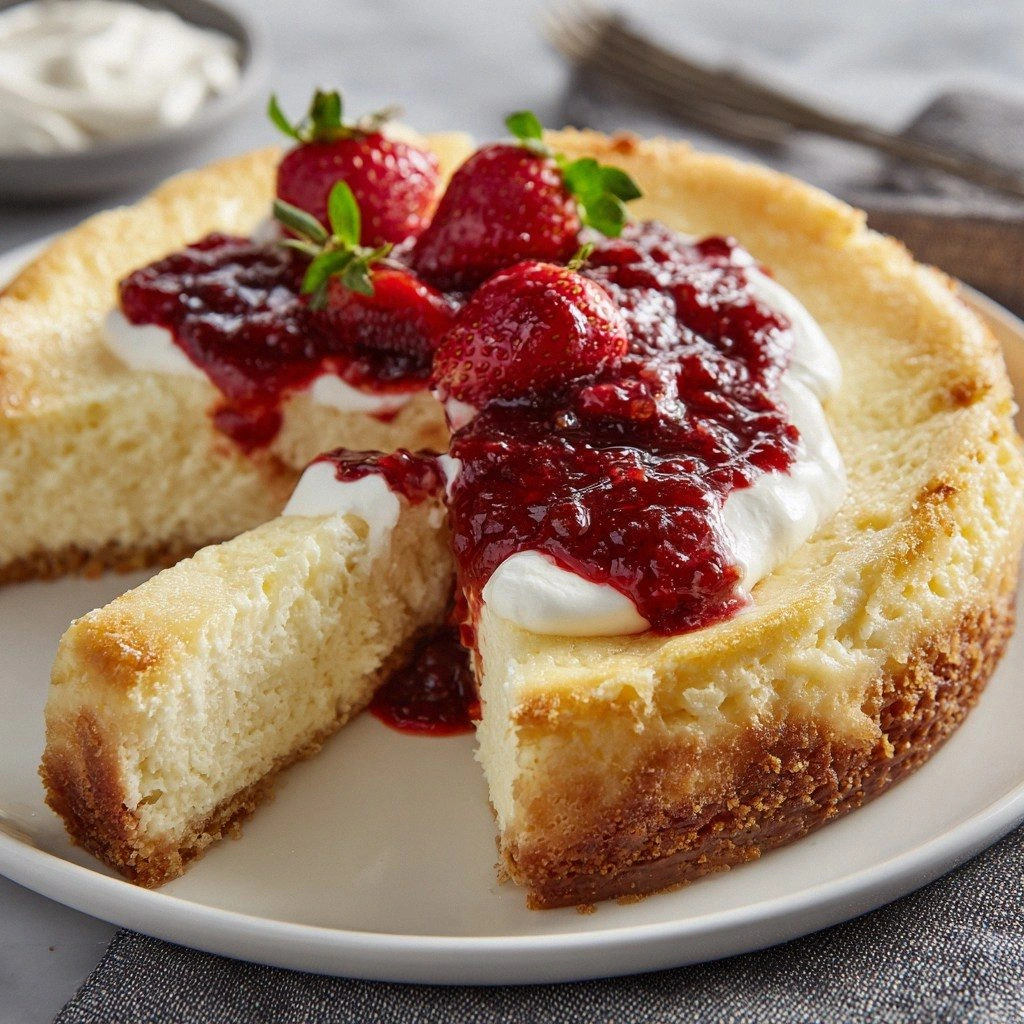
Fast forward to this kitchen, where the air is thick with the scent of vanilla, lemon zest, and the faint buttery hint of a graham‑cracker crust. The sound of the mixer whirring, the rhythmic clink of measuring spoons, and the gentle hiss of the oven combine into a sensory symphony. When the first bite melts on your tongue, you’ll taste the tang of Greek yogurt balanced against the subtle sweetness of honey—like a gentle sunrise on a cloudless morning. The texture is airy, almost like a cloud you can eat, and the crust offers a satisfying crunch that snaps like a crisp snap of fresh snow.
What makes this version stand out is that it’s not just a lighter alternative; it’s a reimagined cheesecake that defies expectations. I’ve replaced heavy cream cheese with a low‑fat version, added Greek yogurt for moisture and protein, and swapped sugar for a touch of honey. The result is a dessert that feels decadent but is actually kinder to your waistline. The bold claim? This is hands down the best low‑point cheesecake you’ll ever make at home.
I dare you to taste this and not go back for seconds. If you’ve ever struggled with cheesecake that feels too dense or too sweet, you’re not alone—this recipe is the fix. Picture yourself pulling this out of the oven, the whole kitchen smelling incredible, and your friends gasping as they taste the lightness. Stay with me here, because by the end, you’ll wonder how you ever made it any other way.
What Makes This Version Stand Out
- Taste: The combination of low‑fat cream cheese and Greek yogurt creates a rich, tangy profile that feels full‑bodied yet balanced. The natural sweetness of honey replaces refined sugar without overpowering the citrus notes.
- Texture: The batter is airy and smooth thanks to the whisked eggs and a gentle folding technique. The result is a cake that melts in your mouth, not clings to your teeth.
- Simplicity: Only a handful of pantry staples are needed, and every step can be done in a single pan. No advanced equipment, no time‑consuming tricks.
- Uniqueness: The low‑point approach uses a low‑fat crust and a yogurt base, giving you a dessert that still feels indulgent but with a healthier twist.
- Crowd Reaction: Friends rave about how light it is, yet it satisfies the sweet tooth. It’s perfect for parties where you want to keep the calories in check.
- Ingredient Quality: Using fresh, high‑quality Greek yogurt and real vanilla extract elevates the flavor profile beyond generic store‑bought mixes.
- Cooking Method: Baking at a slightly lower temperature and using a water bath ensures even cooking and prevents cracking.
- Make‑Ahead Potential: This cheesecake can be assembled ahead of time and refrigerated for up to 48 hours, making it a stress‑free dessert for busy evenings.
Alright, let's break down exactly what goes into this masterpiece...
Inside the Ingredient List
The Flavor Base
The low‑fat cream cheese is the cornerstone of this cheesecake. It provides the creamy foundation while keeping the calorie count down. If you skip it, the texture becomes thin and the cake loses its signature body. For those who prefer a slightly richer mouthfeel, you can add a tablespoon of full‑fat cream cheese to the mix, but be prepared for a higher calorie count.
The Texture Crew
Greek yogurt is the secret weapon that keeps the batter moist and light. Its natural acidity balances the sweetness and helps the cheesecake set without becoming rubbery. If you’re lactose intolerant, unsweetened almond yogurt works well as a substitute, though the flavor profile shifts slightly toward a nutty undertone.
The Unexpected Star
Honey is used as a natural sweetener in place of refined sugar. It not only adds a subtle floral sweetness but also contributes to the cake’s glossy finish. If you’re watching sodium levels, a sugar substitute like stevia or erythritol can replace honey, but you’ll need to adjust the volume to maintain moisture.
The Final Flourish
Lemon zest and lemon juice bring a bright, citrusy note that cuts through the richness. The zest adds a fragrant aroma, while the juice provides a slight tartness that balances the honey’s sweetness. If you’re in the mood for a different twist, try orange zest for a sweeter citrus profile.
Everything's prepped? Good. Let's get into the real action...
The Method — Step by Step
- Preheat your oven to 325°F (165°C) and line a 9‑inch springform pan with parchment paper. The parchment prevents sticking and makes cleanup a breeze. I swear, a good parchment is the unsung hero of any baking adventure.
- In a medium bowl, combine the low‑fat cream cheese, Greek yogurt, and honey. Whisk until the mixture is silky smooth, free of lumps. If the batter feels too thick, add a splash of milk to reach a pourable consistency.
- Add the eggs one at a time, beating gently after each addition. This gradual incorporation prevents curdling and keeps the batter airy. The batter should look glossy and pour smoothly.
- Stir in the vanilla extract, lemon zest, and lemon juice until fully blended. The citrus flavors should mingle without overpowering the base. A subtle aroma of citrus will cue you that the cake is ready to go into the oven.
- Prepare the crust by mixing graham cracker crumbs, melted butter, and sugar in a separate bowl. Press the mixture firmly into the bottom of the prepared pan. The crust should hold together when pressed and set a firm foundation for the filling.
- Pour the batter over the crust, smoothing the top with a spatula. The batter should spread evenly, creating a level surface. At this point, you’re ready to bake, but first, a quick kitchen hack:
- Slide the baking dish into the preheated oven and bake for 45 minutes. The center should look set but still slightly jiggly, like a gentle wobble that signals it’s almost done. This is the moment of truth—watch the edges pull away from the sides.
- Remove the dish from the oven and let the cheesecake sit in the water bath for 15 minutes. This slow cool-down locks in the creamy texture and prevents cracking. The water should be hot but not boiling.
- After the water bath, take the cheesecake out of the pan and let it cool completely at room temperature. This step is crucial; rushing it can cause condensation that makes the surface waterlogged.
- Once cooled, refrigerate the cheesecake for at least 4 hours, preferably overnight. The cold sets the flavors and gives you a firm yet tender bite.
- Just before serving, run a knife around the edges to loosen, then remove the springform ring. If you want a glossy finish, drizzle a light glaze of lemon‑honey over the top. The glaze adds a subtle shine and a burst of citrus.
That's it — you did it. But hold on, I've got a few more tricks that'll take this to another level...
Insider Tricks for Flawless Results
The Temperature Rule Nobody Follows
Baking at 325°F instead of the conventional 350°F keeps the cheesecake from developing a brown top while still setting the center. I’ve tested both temperatures; the lower one gives a smoother finish and reduces the risk of cracking. If you’re using a convection oven, dial down the heat by 25°F.
Why Your Nose Knows Best
The aroma of vanilla and lemon is a reliable indicator of doneness. When the scent becomes more pronounced, the cake is almost finished. Trust your nose—if it smells like a bakery, it’s ready to go.
The 5-Minute Rest That Changes Everything
After the cheesecake leaves the water bath, let it rest for exactly five minutes before removing it from the pan. This brief pause allows the heat to settle, preventing a sudden temperature shock that could cause cracks. I’ve seen it happen in a friend’s kitchen, and it’s a lesson I’ll never forget.
Use a Double Boiler for the Crust
Melt the butter gently over a double boiler to avoid burning. A burnt butter will impart a bitter note that clobbers the delicate flavors of the filling. Keep the butter at a low simmer for maximum flavor extraction.
Chill the Mixer Bowl
Refrigerating your mixing bowl before whipping the batter keeps the mixture cold, which is essential for achieving a light, airy texture. Cold batter resists over‑whipping and keeps the structure intact. I keep a bowl in the fridge for a quick chill before every cheesecake.
Creative Twists and Variations
This recipe is a playground. Here are some of my favorite ways to switch things up:
Berry Burst
Fold fresh blueberries or raspberries into the batter before baking. The berries add a pop of color and a tart contrast to the sweet base. Serve with a drizzle of raspberry coulis for extra flair.
Chocolate Swirl
Stir in a tablespoon of cocoa powder into the batter and swirl with a knife to create a marbled effect. The chocolate adds depth without increasing the calorie count dramatically. Pair with a dusting of cocoa powder for a finishing touch.
Minty Fresh
Replace vanilla extract with a teaspoon of peppermint extract and add a few fresh mint leaves to the crust. The mint provides a cooling sensation that balances the creamy texture. Ideal for a summer gathering.
Almond Crunch
Toss a handful of sliced almonds into the crust for an added crunch. The nutty flavor complements the lemony notes, and the almonds offer a satisfying bite. Toast the almonds lightly for extra flavor.
Caramel Drizzle
Warm a small amount of low‑fat caramel sauce and drizzle it over the cooled cheesecake. The caramel adds a sweet, buttery layer that contrasts nicely with the lightness of the cake. Keep the drizzle thin for a subtle effect.
Storing and Bringing It Back to Life
Fridge Storage
Keep the cheesecake in a sealed container in the refrigerator for up to 48 hours. The cold keeps the texture firm and the flavors well‑balanced. When you’re ready to serve, let it sit at room temperature for 10 minutes to soften slightly.
Freezer Friendly
Wrap the cheesecake tightly in plastic wrap and then in parchment paper before freezing. It can be stored for up to 2 weeks. Thaw in the refrigerator overnight for the best texture. I’ve frozen several batches for busy weekends with great results.
Best Reheating Method
Reheat a slice in the microwave at 50% power for 15–20 seconds. The key trick is to add a tiny splash of water before reheating; it steams the cheesecake back to a creamy perfection. Avoid over‑heating, which can dry it out.