Picture this: a winter evening, the kitchen lights flickering like tiny Christmas stars, and me, standing on a makeshift counter, staring at a bag of flour that feels more like a mountain than a pantry staple. I had just tried the most disastrous snickerdoodle recipe I could find—flat, dry, and with a flavor that tasted like a forgotten holiday. I swear, I almost threw the dough in the trash, but a friend dared me to give it another shot. And so, armed with a whisk, a dash of daring, and the sheer will to prove that cookies can be both chewy and gloriously cinnamon‑sweet, I set out to create a version that would make your taste buds dance.
From the moment the butter hits the room temperature, the kitchen fills with a buttery scent that feels like a hug from grandma’s living room. The air crackles with anticipation as sugar crystals begin to mingle with the butter, turning into a silky, golden syrup. When the eggs crack open, they release a faint, almost metallic aroma that signals the beginning of something sweet. The flour is sifted, the light dusting of it like powdered snow that promises a perfect crumb. The final flourish: a whisper of cream of tartar and baking soda, a tiny chemical duet that will lift the dough into a tender, chewy masterpiece.
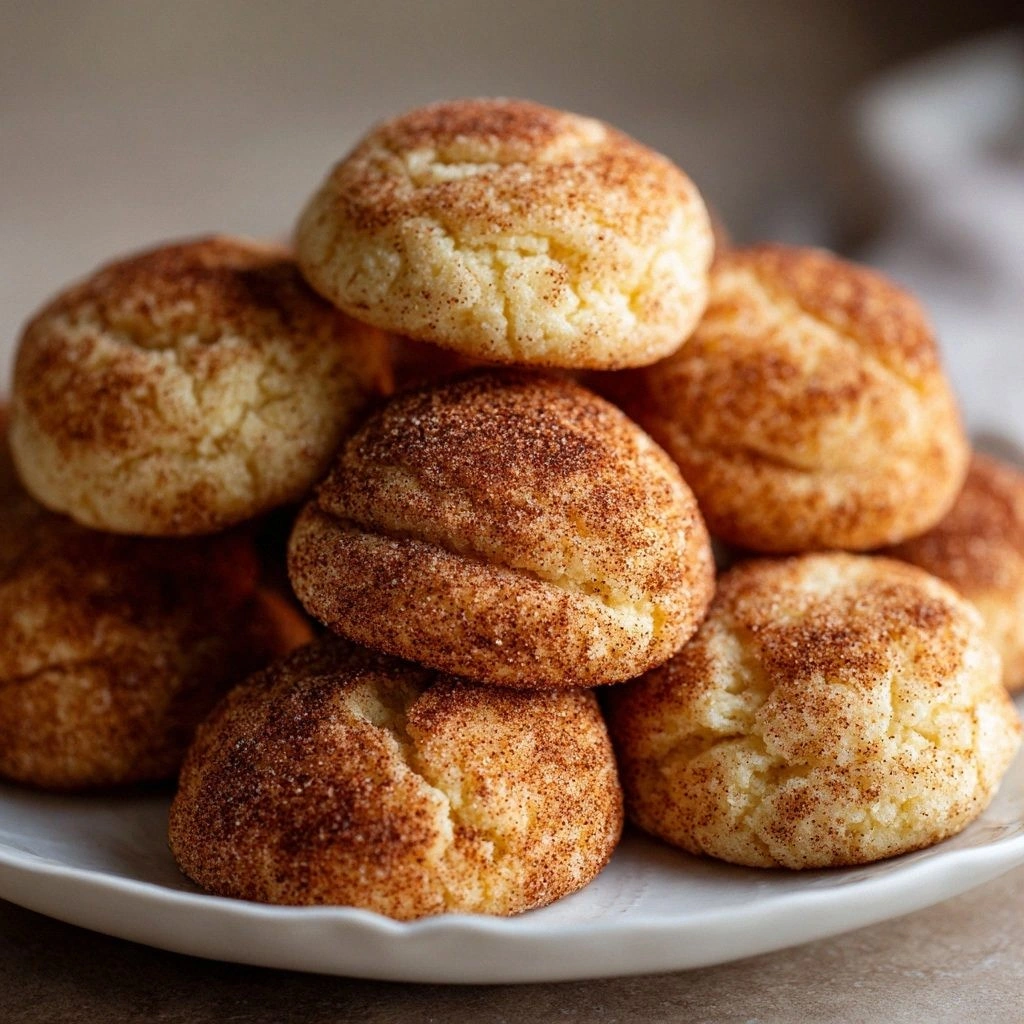
Why does this version stand out from every other snickerdoodle recipe out there? Because I took the classic and gave it a modern twist without sacrificing authenticity. The dough is intentionally slightly denser, ensuring that each bite is soft on the inside and caramelized on the edges. The coating isn’t just sugar and cinnamon—it’s a caramelized glaze that forms a glossy, crunchy shell that shatters like thin ice when you bite. The result is a cookie that melts in your mouth but leaves a lingering, buttery aftertaste that lingers on your palate. I dare you to taste this and not go back for seconds.
Picture yourself pulling this batch out of the oven, the whole kitchen smelling incredible, the steam curling like holiday mist. The sound of the timer ticking down feels like a countdown to Christmas morning. The cookies, still warm, are ready to be plated on a rustic wooden board that looks like it’s straight out of a holiday card. I’m telling you, this is hands down the best version you'll ever make at home. Let me walk you through every single step—by the end, you'll wonder how you ever made it any other way.
What Makes This Version Stand Out
- Chewy Texture: The precise ratio of butter to flour creates a dough that stays soft and chewy, even after cooling. A small tweak in the butter amount can turn the cookies from dry to delightfully tender.
- Caramelized Coating: Rolling the dough in a cinnamon-sugar mixture that has a touch of brown sugar gives a caramelized crunch that sets this recipe apart. The coating doesn’t just taste good; it feels like a buttery ribbon around the cookie.
- Balanced Sweetness: The use of granulated sugar, rather than powdered, keeps the sweetness natural and prevents the cookies from becoming overly sweet.
- Flavor Depth: Cream of tartar adds a subtle tang that balances the richness, giving the cookies a more complex flavor profile.
- Ease of Preparation: All steps are straightforward, with no obscure techniques or hard-to-find ingredients. Even a kitchen novice can master this recipe.
- Make-Ahead Friendly: The dough can be rolled and refrigerated for up to 48 hours, allowing you to prep ahead of time for holiday parties.
Inside the Ingredient List
The Flavor Base
Unsalted butter is the star of this recipe. When softened, it releases a rich, creamy flavor that forms the foundation of the cookie’s mouthfeel. Butter also helps the dough spread evenly, giving you that classic snickerdoodle shape. If you skip it, the cookies lose that buttery depth and become more cake-like.
Granulated sugar is more than just a sweetener—it contributes to the chewy consistency. Its crystalline structure allows the dough to retain moisture during baking, preventing the cookies from drying out. If you replace it with powdered sugar, the cookies will become cakey and lose their signature chew.
The Texture Crew
Large eggs bind the ingredients together and add a slight fluffiness. The proteins in the egg create a network that traps air, giving the cookies a light structure. Skipping eggs will result in brittle, crumbly cookies that crumble like stale crackers.
All-purpose flour is the backbone of the cookie. It provides structure and helps the cookies rise just enough to keep them tender. If you substitute whole wheat flour, the cookies will become denser and less chewy.
The Unexpected Star
Cream of tartar is the secret sauce that gives snickerdoodles their signature tangy flavor. It reacts with baking soda to create a gentle lift, making the cookies puff slightly without becoming airy. Without it, the cookies will be flat and less flavorful.
The Final Flourish
Baking soda and salt are the leavening and flavor enhancers, respectively. Baking soda helps the dough rise, while salt balances the sweetness and brings out the richness of the butter. If you omit the salt, the cookies will taste flat and overly sweet.
The cinnamon-sugar mixture is the final touch that transforms a simple cookie into a holiday classic. The cinnamon adds warmth, while the sugar adds a subtle crunch. Skipping this step will result in a plain, unremarkable cookie that lacks the festive feel.
Everything's prepped? Good. Let's get into the real action...
The Method — Step by Step
- Preheat your oven to 350°F (175°C). Line two baking sheets with parchment paper. This ensures even baking and prevents sticking. I always set a timer for 12 minutes so I can keep an eye on the edges.
- In a large bowl, cream the softened butter and granulated sugar together until the mixture is light and fluffy. This step is crucial; if the butter isn’t fully incorporated, the cookies will be greasy.
- Add the eggs one at a time, beating well after each addition. The first egg should be fully integrated before you add the second. This helps maintain the smooth texture of the dough.
- Whisk the flour, cream of tartar, baking soda, and salt in a separate bowl. Gradually fold this dry mixture into the wet batter, stirring until just combined. Overmixing can make the cookies tough.
- Prepare the cinnamon-sugar coating by mixing the cinnamon and sugar in a shallow dish. This is where the magic happens—rolling each cookie in this mixture will give them that caramelized crunch.
- Using a tablespoon, scoop dough onto the prepared baking sheets, spacing them about 2 inches apart. Then roll each ball in the cinnamon-sugar mixture, pressing gently to ensure the coating sticks.
- Place the sheets in the preheated oven and bake for 12-14 minutes, or until the edges are just beginning to turn golden. The centers should still look slightly undercooked—that’s the key to chewiness.
- Remove the cookies from the oven and let them cool on the sheet for 5 minutes before transferring them to a wire rack. This short cooling period allows the cookies to set and prevents them from breaking apart.
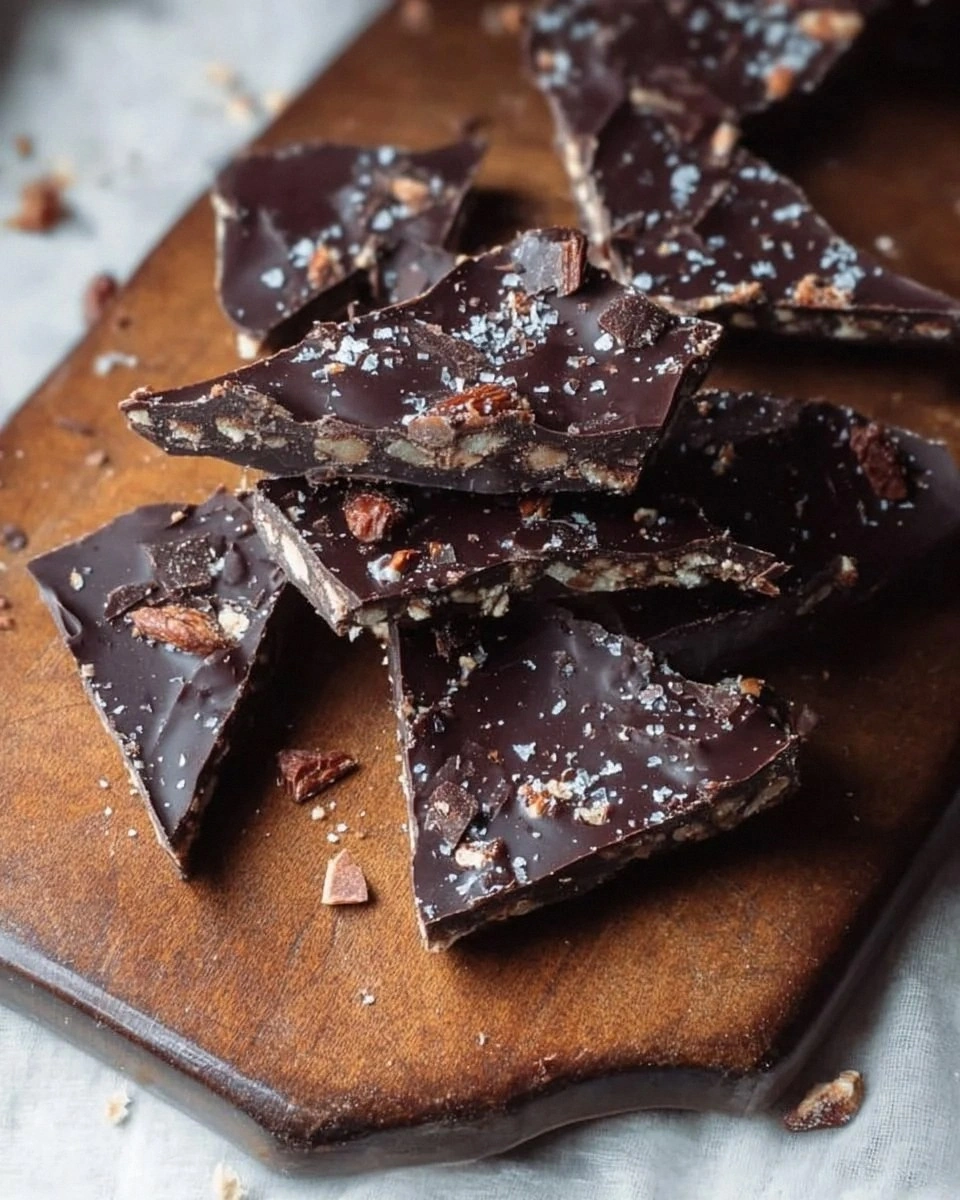
- Serve warm or at room temperature. If you want to keep them fresh, store them in an airtight container for up to a week. For a holiday touch, drizzle a little melted chocolate on top before serving.
- Enjoy! Take a bite and let the chewy center melt into a buttery, cinnamon-sugar explosion. I dare you to taste this and not go back for seconds.
That's it — you did it. But hold on, I've got a few more tricks that'll take this to another level. Stay tuned as we dive deeper into insider tips, creative twists, and storage hacks that will keep these cookies fresh and fabulous.
Insider Tricks for Flawless Results
The Temperature Rule Nobody Follows
Many bakers assume room temperature butter is enough, but a slightly warmer butter (around 60°F) will cream more efficiently. This small change reduces the amount of time you need to beat the butter and sugar, resulting in a lighter dough. If you’re in a hurry, let the butter sit out for 5 minutes before using it.
Why Your Nose Knows Best
The aroma of baking cookies is a powerful indicator of doneness. When the edges start to look golden and you smell a warm, buttery scent, the cookies are ready. Trust your senses—if the smell is sweet and toasty, it’s time to pull them out.
The 5-Minute Rest That Changes Everything
Letting the cookies rest on the baking sheet for 5 minutes after they come out of the oven is essential. This short rest allows the interior to finish cooking while the exterior sets, preventing the cookies from breaking apart when transferred to a wire rack. Skipping this step often results in fragile cookies.
The Right Baking Sheet
A dark, non-stick baking sheet helps achieve a perfect golden color. If you only have a light-colored sheet, place a piece of parchment paper underneath to prevent sticking and ensure even baking. I’ve found that a silicone mat works as well, but parchment is my go-to.
The Sweet Spot for Cinnamon
Using a blend of ground cinnamon and ground cloves can elevate the flavor profile. The cloves add a subtle depth that pairs beautifully with the buttery dough. Try a 1:1 ratio of cinnamon to cloves for a warm, aromatic twist.
The Final Touch: A Dusting of Powdered Sugar
After cooling, lightly dust the cookies with powdered sugar for an extra sweet finish. The powdered sugar also adds a visual contrast that makes the cookies look festive. Just be sure to dust them gently to avoid clumping.
Creative Twists and Variations
This recipe is a playground. Here are some of my favorite ways to switch things up:
Nutty Crunch Edition
Add chopped pecans or walnuts to the dough for a nutty crunch. The nuts pair wonderfully with the cinnamon coating, adding a new layer of texture and flavor. This version is perfect for those who love a bit of extra bite.
Chocolate Chip Surprise
Fold in dark chocolate chips into the dough before shaping. The chocolate adds a rich, bittersweet contrast that balances the sweet cinnamon. It’s a crowd-pleaser at holiday parties.
Coconut Twist
Replace half of the flour with desiccated coconut for a tropical flair. The coconut adds a subtle sweetness and a chewy texture that complements the cookie’s center. Serve with a splash of coconut milk for a decadent treat.
Spiced Up Version
Add a pinch of cayenne pepper to the cinnamon-sugar mix for a spicy kick. The heat contrasts beautifully with the buttery dough, creating a unique flavor profile that will surprise your guests.
Maple Syrup Infusion
Replace the granulated sugar with maple syrup in the dough for a deep, caramel flavor. The syrup adds moisture and a subtle maple undertone that pairs well with the cinnamon coating.
Almond Joy
Swap out the regular flour for almond flour and add shredded coconut to the dough. The result is a gluten-free cookie that tastes like a homemade almond joy bar.
Storing and Bringing It Back to Life
Fridge Storage
Store the cookies in an airtight container in the refrigerator for up to one week. The cold environment preserves the chewy texture and prevents the cookies from drying out. When you’re ready to enjoy, let them sit at room temperature for 10 minutes before eating.
Freezer Friendly
For long-term storage, place the cooled cookies in a freezer-safe bag. Freeze for up to three months. To thaw, leave the cookies in the bag at room temperature for 20 minutes or microwave on low for 10 seconds.
Best Reheating Method
Add a tiny splash of water to the baking sheet and microwave the cookies for 10-15 seconds. The steam rehydrates the dough, restoring its chewiness. Alternatively, bake in a preheated oven at 300°F for 5 minutes to warm them evenly.