Picture this: I’m standing in a kitchen that smells like burnt sugar, my phone buzzing with a text from a friend daring me to make the ultimate salted caramel pretzel cheesecake. I’ve tried every version I’ve seen—some too sweet, some too bland, and a few that turned into a sticky mess. The moment I opened the bag of pretzels and saw that salty crunch, I knew I was onto something that would change the game. I had a craving that was more than just dessert—it was an experience, a flavor explosion that could be shared at parties or savored by a single, indulgent bite.
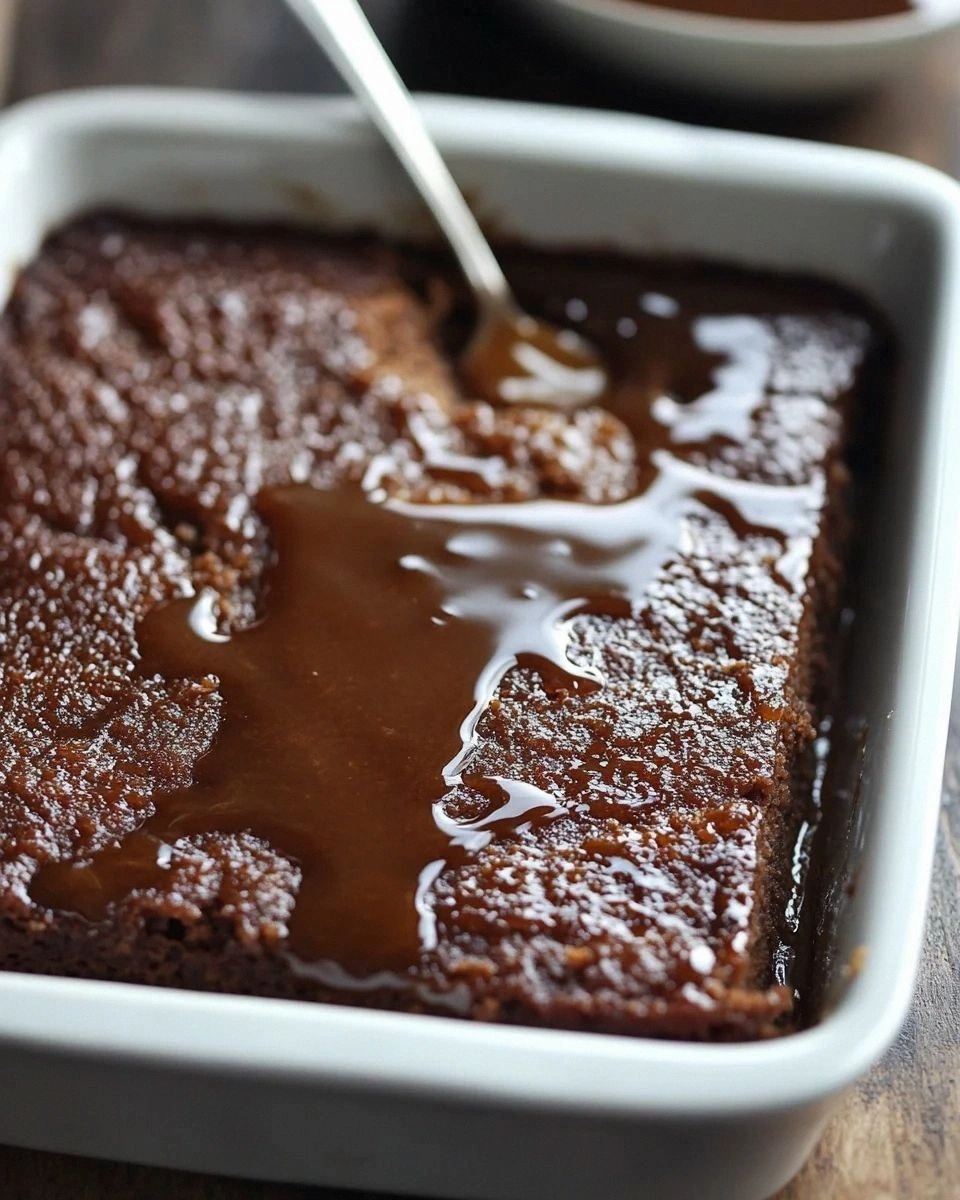
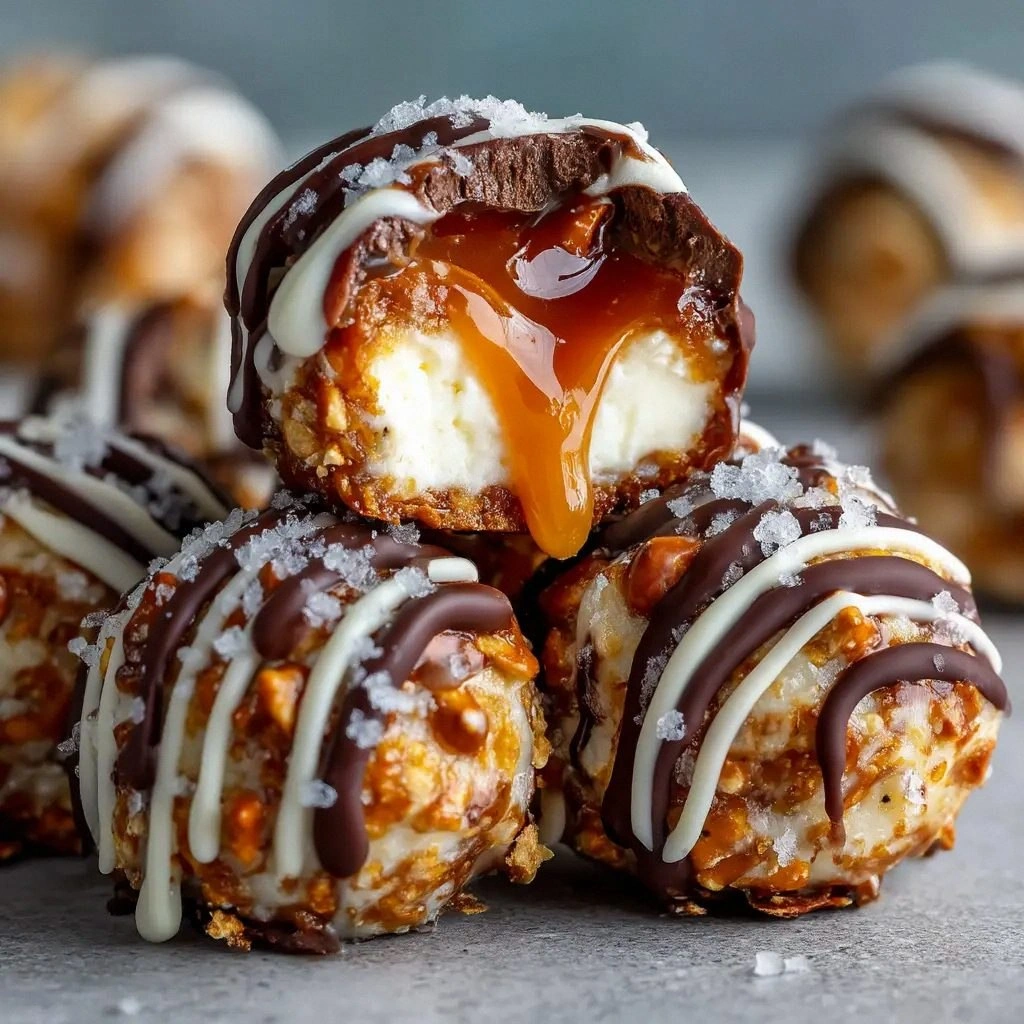
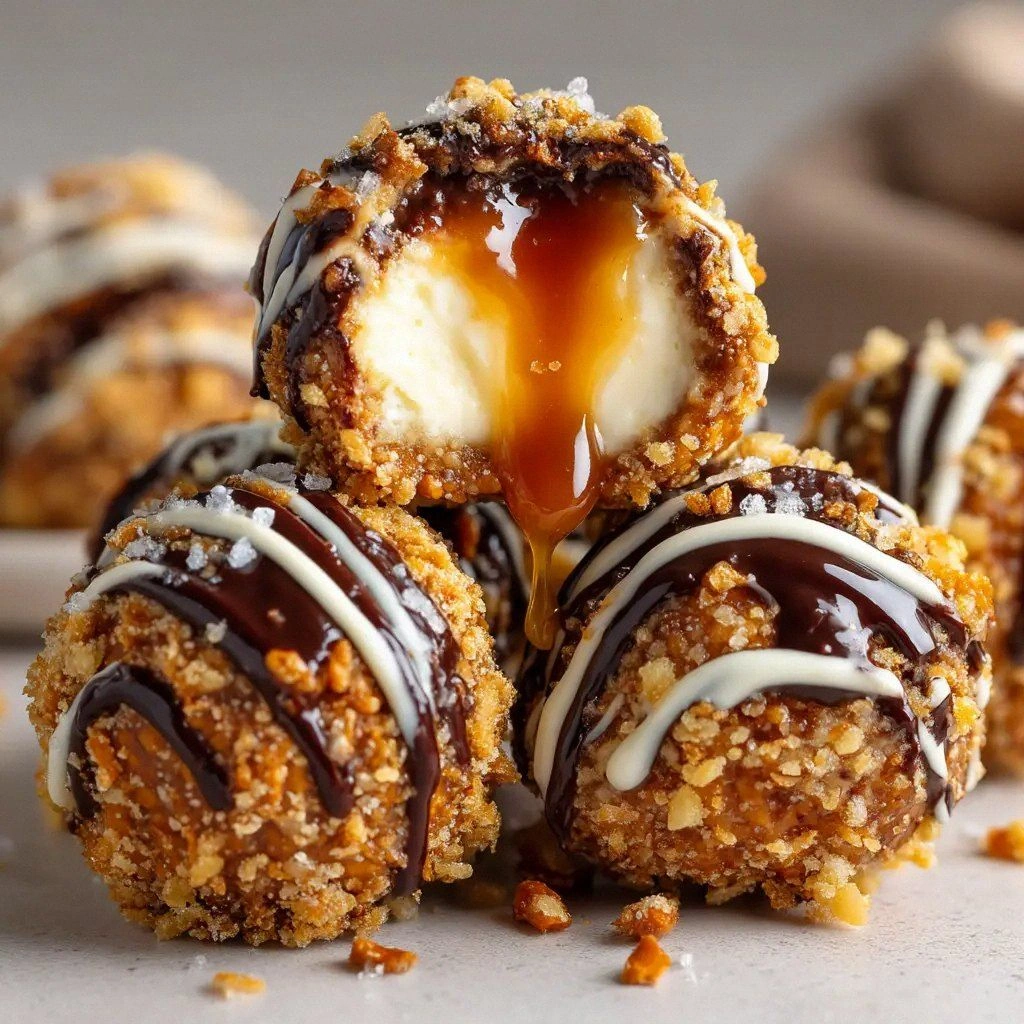
The first thing you notice is the aroma: a sweet caramel swirl that lingers like a warm hug, balanced by the sharp, almost metallic tang of sea salt. The texture is a dream—smooth, almost silky cream cheese base, interrupted by the satisfying crunch of pretzel shards that crack under your teeth like thin ice. The color is a buttery gold, with glossy caramel ribbons that look almost too pretty to eat. When you take your first bite, the caramel melts, the pretzels pop, and the cream cheese folds into a velvety finish that feels like a hug from the inside. It’s the kind of dessert that makes you question whether you should even bother making it again.
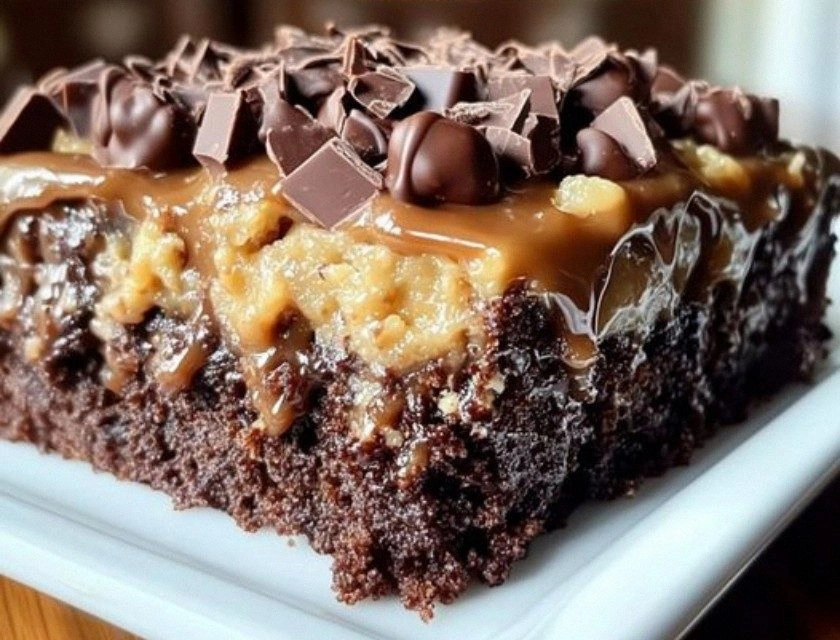
Why does this version stand out? Because it’s not just a recipe; it’s a statement. I’ve combined the classic elements of a cheesecake—rich cream cheese, subtle vanilla, and a smooth base—with bold twists that elevate it to a new level. The caramel isn’t just a topping; it’s an integral part of the batter, coating each bite like velvet. The pretzels add a crunchy contrast that keeps the mouth moving. And the white chocolate wafers? They melt into a silky, almost buttery layer that balances the saltiness and sweetness perfectly. It’s a flavor profile that’s both familiar and daring, making it a crowd-pleaser and a conversation starter.
I dare you to taste this and not go back for seconds. I’ll be honest—before I finished the first batch, I had already taken half the cake into the fridge and was planning my next batch. Most recipes get this completely wrong, but here’s what actually works: the right amount of salt, the proper blend of textures, and a no-bake method that keeps everything intact. Picture yourself pulling this out of the fridge, the whole kitchen smelling incredible, and everyone asking for the recipe. Okay, ready for the game-changer? Let me walk you through every single step—by the end, you’ll wonder how you ever made it any other way.
What Makes This Version Stand Out
- Taste: The caramel and sea salt dance on your palate, creating a sweet-salty balance that feels like a caramelized caramel swirl with a salty finish. It’s the kind of flavor that lingers and makes you reach for another bite.
- Texture: The creamy base is smooth, the pretzels provide a satisfying crunch, and the melted white chocolate adds a silky finish that coats your tongue. The contrast feels like a symphony of textures in every bite.
- Simplicity: No oven, no fuss—just a few ingredients, a blender, and a fridge. It’s a no-bake treat that’s perfect for a busy weeknight or a last-minute dessert.
- Uniqueness: The combination of salted caramel, pretzels, and white chocolate is a fresh take on the classic cheesecake. It’s a twist that feels both nostalgic and modern.
- Crowd Reaction: Guests will be amazed when they see the caramel ribbons and crunchy pretzels, and they’ll love the bold flavor that’s not too sweet.
- Ingredient Quality: Using full-fat cream cheese and premium white chocolate ensures a rich, velvety mouthfeel that’s hard to beat.
- Cooking Method: The no-bake technique saves time and keeps the flavors intact, while the chilling step locks in the textures.
- Make-ahead Potential: You can prep this up to a week ahead, chill in the fridge, and it stays fresh and delicious.
Inside the Ingredient List
The Flavor Base
The heart of this cheesecake is the 16 oz block of full-fat cream cheese. Its richness provides depth and a creamy mouthfeel that carries the caramel and chocolate. If you use a lower-fat version, the texture becomes thinner and the flavor less intense, making the caramel taste more like a garnish than a core element. For the best results, let the cream cheese sit at room temperature for 30 minutes before mixing; this ensures it blends smoothly without lumps.
The Sweetener
Powdered sugar is the sweetener of choice because it dissolves quickly and doesn’t leave gritty residues. It also helps the caramel sauce integrate better, creating a uniform sweetness. If you’re watching your sugar intake, you can substitute with a sugar alternative that’s fine in baking, but keep in mind that the texture might change slightly. A good rule of thumb: use the same volume of a sugar substitute to maintain the batter’s consistency.
The Texture Crew
Pretzels are the star of the crunch factor. Their salty, slightly sweet profile complements the caramel, and when crushed to a coarse texture, they add a delightful bite that keeps the cheesecake from feeling too dense. If you prefer a softer crunch, pulse them lightly in a food processor until you reach the desired texture. Remember, the pretzels should be coarse enough to feel in each bite but not so fine that they blend into the batter.
The Unexpected Star
12 oz white chocolate melting wafers are the unexpected twist that brings a silky, buttery layer to the mix. They melt smoothly, infusing the batter with a subtle cocoa note that balances the sweetness. If you can’t find white chocolate wafers, you can melt white chocolate chips instead, but adjust the quantity slightly to keep the batter from becoming too chocolatey. The key is to let the chocolate melt completely before folding it in, ensuring a uniform flavor.
The Final Flourish
The 1/4 cup thick caramel sauce isn’t just a topping; it’s an integral part of the batter, coating the mixture like velvet. It adds depth and a glossy sheen that makes the cheesecake visually stunning. The 1 teaspoon flaky sea salt is the finishing touch that brings out the caramel’s sweetness and balances the overall flavor profile. A pinch of sea salt is enough to elevate the dessert without overpowering it.
Everything's prepped? Good. Let's get into the real action...
The Method — Step by Step
- Step 1: Cream the Base. In a large bowl, beat the 16 oz of full-fat cream cheese with an electric mixer until it’s silky smooth, about 2 minutes. The goal is a lump-free texture that will carry the sweet and salty notes. Watch the mixture transform from a thick, dense block into a light, airy cream—this is the foundation of the cheesecake.
- Step 2: Sweeten it Up. Add the 1 cup of powdered sugar, 1 teaspoon vanilla extract, and 1/4 cup of thick caramel sauce. Mix on low speed until the sugar dissolves and the batter is glossy. The caramel should swirl through the mixture like a ribbon; this ensures every bite has that caramel kick.
- Step 3: Fold in Pretzels. Gently fold 1.5 cups of crushed pretzels into the batter. The pretzels should be evenly distributed, giving the cheesecake a consistent crunch. Be careful not to overmix; you want the pretzels to stay visible and crunchy.
- Step 4: Melt the Chocolate. Place the 12 oz white chocolate melting wafers in a heatproof bowl over a pot of simmering water, or microwave in 30-second bursts, stirring after each burst until completely melted. The chocolate should be fluid and glossy. This step is crucial for a smooth finish.
- Step 5: Combine Chocolate and Cream. Slowly pour the melted chocolate into the cream cheese mixture, stirring constantly. The mixture should thicken slightly and develop a rich, chocolatey aroma. The chocolate should be fully incorporated, creating a seamless blend of flavors.
- Step 6: Portion the Mixture. Line a 9-inch springform pan or a set of silicone molds with parchment paper. Spoon the batter into the pan, smoothing the top with a spatula. The batter should be evenly spread to avoid air pockets.
- Step 7: Chill. Cover the pan with plastic wrap and refrigerate for at least 2 hours, or overnight if you have the time. The chilling step is where the flavors meld together and the cheesecake sets into a firm, sliceable texture. The longer you chill, the more pronounced the caramel and chocolate flavors become.
- Step 8: Finish and Serve. Before serving, drizzle a thin layer of caramel sauce over the top and sprinkle 1 teaspoon of flaky sea salt. This final touch adds a glossy sheen and a burst of salty flavor. Slice carefully with a sharp knife, wiping the blade between cuts to keep the edges clean.
- Step 9: Enjoy. Serve chilled, preferably with a glass of milk or a coffee to balance the sweetness. The cheesecake should feel creamy, with a subtle crunch from the pretzels and a caramel finish that lingers on the tongue.
That's it — you did it. But hold on, I've got a few more tricks that'll take this to another level. These insider tips will help you perfect the texture, enhance the flavor, and ensure every bite is a masterpiece.
Insider Tricks for Flawless Results
The Temperature Rule Nobody Follows
The temperature of your ingredients is everything. If the cream cheese is too cold, it won’t blend smoothly, leading to lumps. If it’s too warm, the mixture may become runny, causing the cheesecake to collapse during chilling. I always let the cream cheese sit at room temperature for 30 minutes and then chill it again for 15 minutes before mixing. This simple step ensures a perfect, silky texture that holds its shape.
Why Your Nose Knows Best
When you first add the caramel, you’ll notice a sweet, buttery aroma that immediately signals that the mixture is on the right track. If the caramel doesn’t smell rich and slightly toasty, it may be too thin or undercooked. Use a small pot to warm the caramel gently, stirring until it reaches a deep amber color. This not only enhances the flavor but also gives the cheesecake a beautiful, glossy finish.
The 5-Minute Rest That Changes Everything
After folding in the pretzels, let the batter rest for 5 minutes before adding the melted chocolate. This pause allows the pretzels to absorb some moisture, preventing them from becoming soggy. It also gives the batter a chance to settle, making it easier to pour into the pan without splattering.
The Secret to a Smooth Finish
A quick tip for a glossy finish: after the cheesecake has chilled, lightly brush the top with a thin layer of melted caramel. This not only adds flavor but also creates a shiny surface that looks as good as it tastes. Don’t forget to let it set for a minute before slicing.
The Perfect Slice
Slicing a no-bake cheesecake can be tricky if the edges are soft. Use a hot knife—dip it in warm water, wipe dry, and then slice. This technique prevents the cheesecake from sticking to the blade and ensures clean, even slices. If you’re serving immediately, keep the cheesecake chilled to maintain its firmness.
Creative Twists and Variations
This recipe is a playground. Here are some of my favorite ways to switch things up:
Chocolate Pretzel Crunch
Swap the white chocolate wafers for dark chocolate chips. The bittersweet notes will contrast beautifully with the caramel and sea salt, creating a richer, more complex flavor. It’s perfect for chocolate lovers who want a deeper cocoa experience.
Nutty Caramel Delight
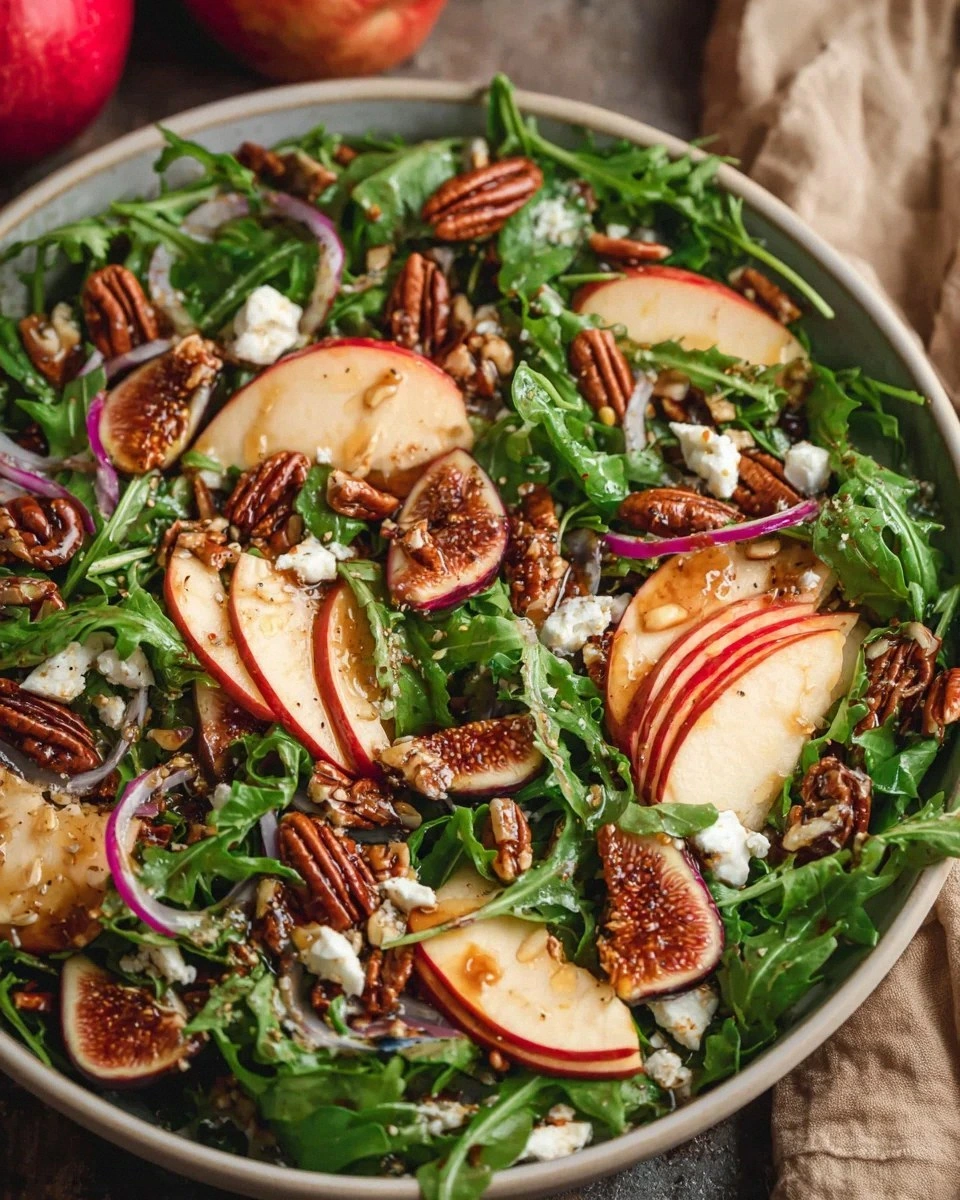
Add 1/2 cup of chopped toasted almonds or walnuts to the batter. The nutty crunch adds a new dimension of texture and a subtle earthy flavor that pairs wonderfully with the caramel.
Citrus Surprise
Incorporate the zest of one lemon or orange into the batter. The bright citrus notes cut through the sweetness and add a fresh, vibrant layer that keeps the dessert from feeling too heavy.
Spiced Caramel Twist
Stir in a pinch of ground cinnamon or a splash of vanilla bean paste. The warm spices elevate the caramel’s flavor profile and give the cheesecake a cozy, autumnal vibe.
Salted Caramel Cheesecake Bars
Press the batter into a lined 9x13 inch pan, chill, then cut into bars. The bars are portable and perfect for parties or picnics. Add a drizzle of dark chocolate over the top for an extra indulgent touch.
Vegan Version
Use a plant-based cream cheese substitute and dairy-free white chocolate. The texture will be slightly lighter, but the flavor will remain indulgent. Adjust the sweetener to taste, as vegan ingredients can sometimes be sweeter.
Storing and Bringing It Back to Life
Fridge Storage
Store the cheesecake in an airtight container in the refrigerator for up to 5 days. The flavors will continue to meld, giving the dessert a deeper, more complex taste. For the best texture, keep the cheesecake chilled until you’re ready to serve.
Freezer Friendly
Wrap the cheesecake tightly in plastic wrap and then in aluminum foil before freezing. It can be stored for up to 2 months. Thaw overnight in the refrigerator before serving. The texture may be slightly firmer, but the flavor remains intact.
Best Reheating Method
If you need to warm the cheesecake, place it in a preheated oven at 300°F (150°C) for 5-7 minutes. Alternatively, microwave on low power for 20-30 seconds, then let it rest for a minute. A tiny splash of water before reheating helps the cheesecake steam back to its original, creamy texture.