I was in the middle of a frantic midnight snack raid when my roommate challenged me: “Make something that screams Hungary but also feels like a comfort‑food hug.” I laughed, grabbed a bag of russet potatoes, and the kitchen instantly turned into a battlefield of sizzling oil and cheesy dreams. The air filled with the earthy scent of potatoes mingling with the sharp tang of paprika, while the sound of a hot pan hissed like a secret promise. My first batch came out a little soggy, and I was ready to declare defeat, but then I remembered an old Hungarian street‑food stall I visited in Budapest—those golden, crunchy cheese‑laden sticks that melt in your mouth. That memory sparked a revelation: the secret isn’t just in the ingredients, it’s in the technique, the balance of starch, cheese, and a crisp coating that shatters like thin ice when you bite into it.
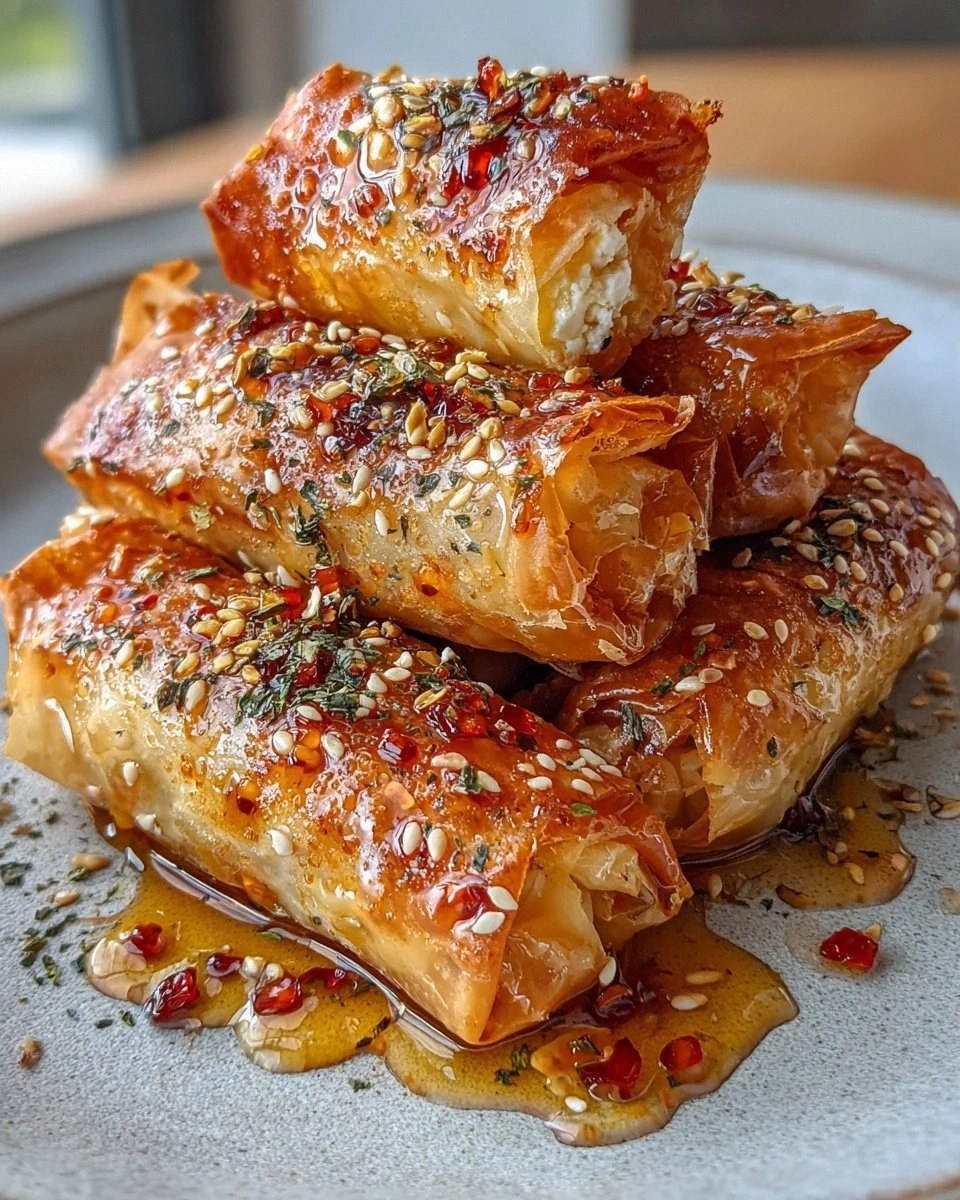
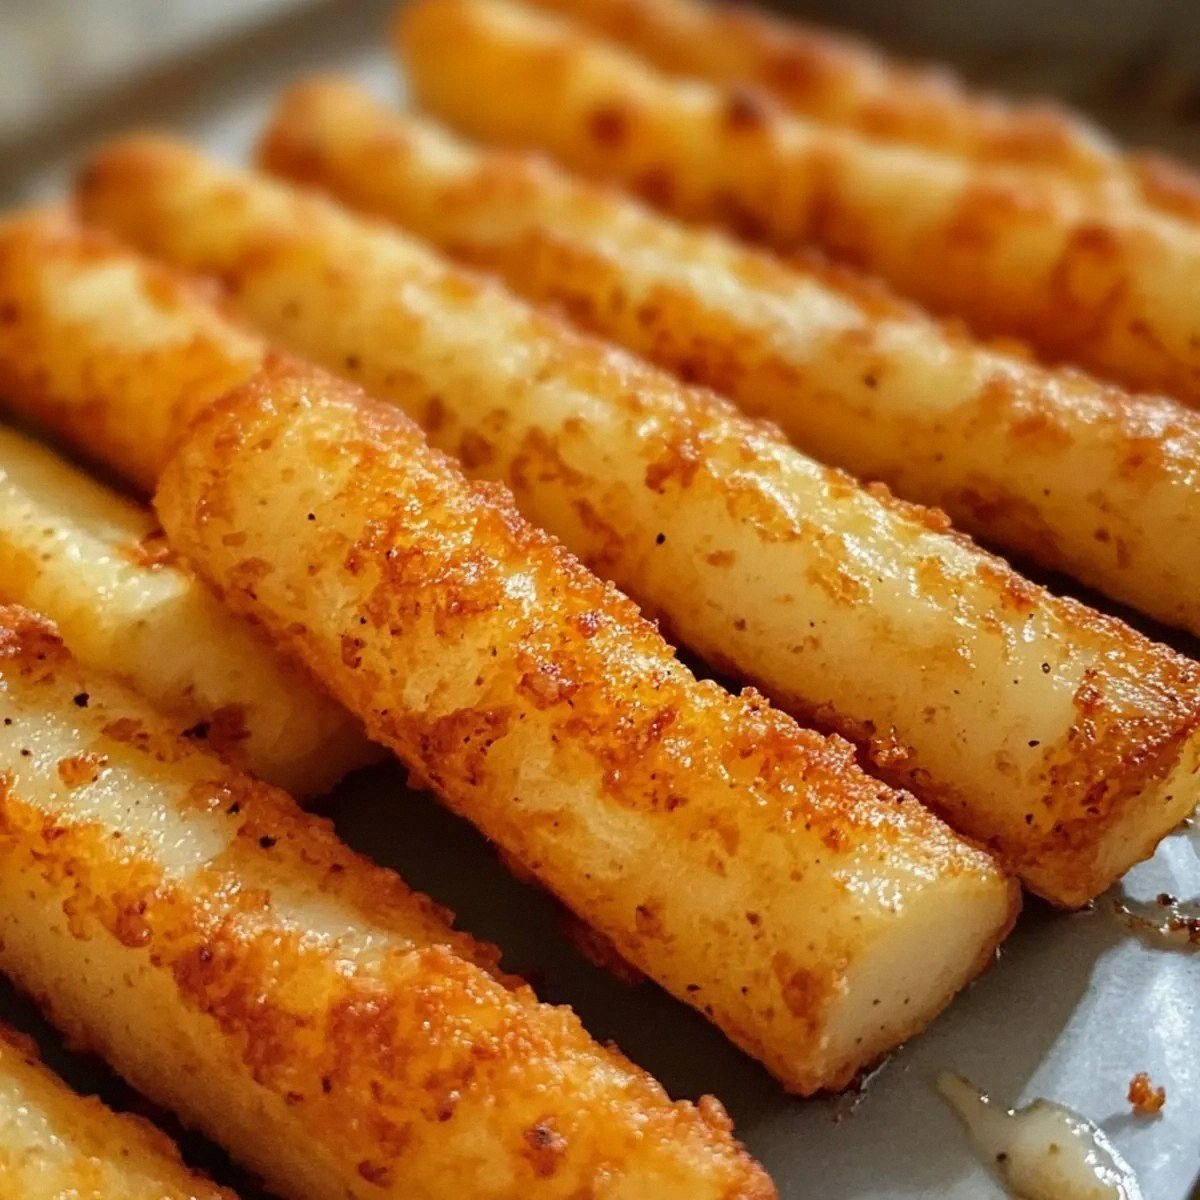
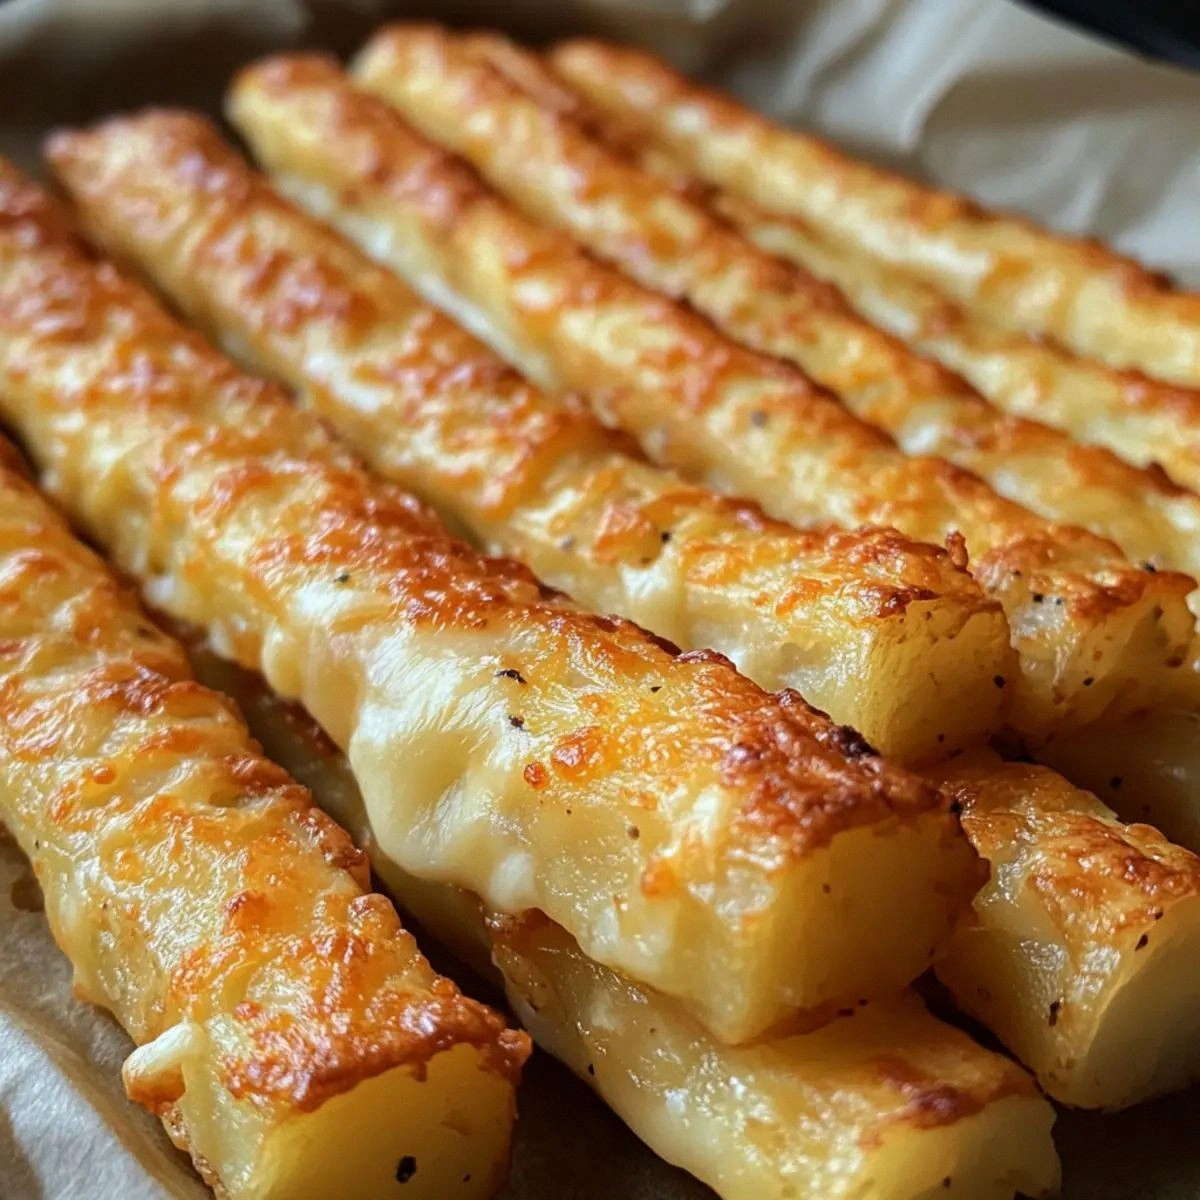
Fast forward to today, and I’ve nailed the ultimate version of these Crispy Hungarian Potato Cheese Sticks. I’m not talking about a soggy, greasy afterthought; I’m talking about a snack that crackles with each bite, releases a molten core of mozzarella‑cheddar bliss, and leaves a lingering whisper of smoked paprika on the palate. The potatoes are boiled just enough to stay firm, then grated and mixed with a whisper of flour that binds everything together without turning the sticks into a dense brick. The cheese— a perfect marriage of mozzarella’s stretch and cheddar’s sharp bite—gets folded in at the perfect moment, ensuring every bite is an explosion of gooey goodness. And the breadcrumbs? They’re seasoned, toasted, and give each stick a golden armor that holds the molten interior in check.
What really sets this recipe apart is a tiny, almost‑invisible step: drying the grated potatoes on a clean kitchen towel until they’re bone‑dry. That moisture‑removing ritual is the difference between a soggy disappointment and a crisp, airy crunch that sings “Hungary” with every crack. I dare you to taste this and not go back for seconds; the combination of texture, flavor, and nostalgia is downright addictive. I’ll be honest — I ate half the batch before anyone else got a chance to try it, and that’s a confession I’m willing to make because the flavor is that good.
Most recipes get this completely wrong. They either skip the flour, over‑mix the potatoes, or fry at the wrong temperature, resulting in limp sticks that flop like a sad accordion. Here’s what actually works: a precise oil temperature of 350°F (175°C), a brief rest for the formed sticks, and a final quick fry that locks in the cheese while giving the exterior a glossy, crunchy finish. Picture yourself pulling these out of the pan, the whole kitchen smelling like a Hungarian market on a crisp autumn morning, steam rising, and the first bite delivering that perfect snap followed by a molten cheese river. Okay, ready for the game‑changer? Let me walk you through every single step — by the end, you’ll wonder how you ever made it any other way.
What Makes This Version Stand Out
- Taste: The blend of mozzarella and cheddar creates a balanced cheesy profile that’s both creamy and sharp, while paprika adds a subtle smoky heat.
- Texture: A crunchy breadcrumb crust gives way to a fluffy, airy potato interior and a molten cheese core that stretches like a sweet‑tooth dream.
- Simplicity: Only six core ingredients, most of which you probably already have in your pantry, making it a quick go‑to snack.
- Uniqueness: The secret dry‑towel step removes excess moisture, a trick that most home cooks overlook, leading to that coveted crisp.
- Crowd Reaction: These sticks disappear faster than free samples at a grocery store; expect empty plates and endless requests for the recipe.
- Ingredient Quality: Using starchy russet potatoes ensures a firm bite, while high‑quality cheese guarantees melt‑ability and flavor depth.
- Cooking Method: Shallow frying at a controlled temperature gives you that restaurant‑level crunch without deep‑frying a whole pot of oil.
- Make‑Ahead Potential: Form the sticks ahead of time, refrigerate, and fry when guests arrive for a stress‑free snack.
Inside the Ingredient List
The Flavor Base
The backbone of this snack is the starchy potato. Russet potatoes are ideal because their high starch content creates a fluffy interior once cooked, while still holding together when grated. If you skip the potatoes or use a waxy variety like red potatoes, you’ll end up with a gummy texture that never gets that airy bite. A good tip: look for potatoes that feel heavy for their size and have a smooth, unblemished skin—these are the freshest and will give you the best results.
The Texture Crew
Flour acts as the silent binder, ensuring the grated potatoes and cheese stick together during frying. A quarter cup might seem modest, but it’s enough to absorb residual moisture and create a cohesive dough without making the sticks dense. If you’re gluten‑free, swap the all‑purpose flour for a 1:1 gluten‑free blend; just be mindful that the texture may be slightly less airy.
The Unexpected Star
Cheese is the heart‑throb of this recipe. I love using a 50/50 mix of shredded mozzarella and sharp cheddar because mozzarella gives that perfect melt, while cheddar adds a punch of flavor that cuts through the potato’s earthiness. If you’re feeling adventurous, throw in a pinch of smoked gouda for an extra depth of smokiness that pairs beautifully with paprika. Remember, the cheese should be shredded, not pre‑shredded from a bag, because the anti‑clumping agents in bagged cheese can affect melt‑ability.
The Final Flourish
Seasonings—salt, pepper, and paprika—are the trio that elevates the humble potato to a star. Salt enhances the natural flavors, pepper adds a subtle heat, and paprika contributes that signature Hungarian warmth and color. Don’t be shy with the paprika; a generous sprinkle ensures each bite has that smoky, slightly sweet undertone that makes these sticks unforgettable. Finally, the breadcrumbs provide the golden crust; for extra crunch, toast them lightly in a dry pan with a drizzle of oil before coating the sticks.
The Frying Essentials
Oil is the medium that brings everything together. I recommend a neutral oil with a high smoke point—like canola or grapeseed—so the sticks fry evenly without imparting any off‑flavors. Half a cup of oil is enough for shallow frying in a wide skillet; you’ll want enough depth to let the sticks sit without touching the bottom, but not so much that they’re swimming. Keep a thermometer handy; maintaining 350°F (175°C) is crucial for that perfect golden exterior.
Everything's prepped? Good. Let’s get into the real action...
The Method — Step by Step
Start by peeling two cups of starchy russet potatoes and then grate them using the large holes of a box grater. The moment the shreds hit the bowl, you’ll hear that satisfying rustle that tells you you’re on the right track. Once grated, transfer the potatoes onto a clean kitchen towel, gather the corners, and wring out every drop of moisture; this is the moment where the magic begins. That sizzle when it hits the pan? Absolute perfection. The drier the potatoes, the crisper the final sticks.
Place the dried potato shreds into a large mixing bowl and sprinkle the quarter‑cup of flour over them. Toss gently to coat, then add a generous pinch of salt, a dash of black pepper, and one teaspoon of smoked paprika. The flour will absorb any lingering moisture, while the spices begin to infuse the potato with a subtle warmth.
Kitchen Hack: Let the seasoned potato‑flour mixture rest for five minutes; this allows the flour to hydrate fully, creating a smoother dough.Now, fold in one cup of shredded cheese—half mozzarella, half cheddar—into the potato mixture. Use a spatula to gently incorporate the cheese, being careful not to over‑mix, which could cause the cheese to melt prematurely. You’ll notice the cheese strands beginning to cling to the potato, promising that glorious melt you’ll experience later. This step is where the snack earns its “irresistibly cheesy” badge.
With your hands lightly oiled, scoop out portions of the mixture and shape them into sticks about 4‑5 inches long and ½ inch thick. If the mixture feels too sticky, dust your hands with a little extra flour. Place each stick on a parchment‑lined tray, then lightly press them to compact the interior. This is the stage where you can feel the future crunch forming under your fingertips.
Prepare a shallow bowl of breadcrumbs seasoned with an extra pinch of paprika and a sprinkle of salt. Roll each potato‑cheese stick in the breadcrumbs, ensuring an even coating; the breadcrumbs should cling like a second skin. For an extra crunch, give the sticks a quick second roll after the first coating, creating a double‑layered crust that will stay crispy even after cooling.
Heat a wide skillet over medium‑high heat and add half a cup of oil, spreading it to a depth of about ¼ inch. Insert an instant‑read thermometer; once the oil reaches 350°F (175°C), you’ll know it’s ready.
Watch Out: If the oil is too hot, the breadcrumbs will burn before the interior cooks; if too cool, the sticks will absorb oil and become soggy.Carefully place a few sticks into the hot oil, making sure not to overcrowd the pan. Fry for 2‑3 minutes on each side, watching for a deep golden‑brown hue that signals a perfect crust. You’ll hear a gentle bubbling that turns into a steady hiss—listen for that as a cue that the temperature is holding steady. When the sticks are crisp and the cheese inside is bubbling through tiny cracks, they’re done.
Using a slotted spoon, transfer the fried sticks onto a paper‑towel‑lined plate to drain excess oil. While they’re still hot, sprinkle a final pinch of paprika for a pop of color and an extra flavor punch. Let them rest for a minute; this brief pause lets the interior settle, preventing cheese from spilling out when you bite in.
Serve the sticks immediately with your favorite dip—think cool sour cream mixed with fresh dill, or a spicy sriracha mayo. The contrast between the hot, crispy sticks and the cool, tangy dip is what makes this snack unforgettable. If you’re planning to keep them for a while, store them in a single layer on a wire rack to preserve crunch.
That’s it — you did it. But hold on, I’ve got a few more tricks that’ll take this to another level, like a quick dusting of powdered cheese just before serving, or a secret herb blend that adds a subtle earthiness without overpowering the cheese.
Insider Tricks for Flawless Results
The Temperature Rule Nobody Follows
Maintaining a steady oil temperature is the single most important factor for achieving that perfect crunch. Use a thermometer and adjust the burner as needed; a dip of a few degrees can mean the difference between a golden crust and a burnt disaster. I once tried to “wing it” without a thermometer and ended up with a batch that looked like charcoal—definitely not the vibe I was going for. Trust the heat, and your sticks will sing.
Why Your Nose Knows Best
Your sense of smell is a reliable indicator of doneness. When the sticks are frying, you’ll notice a nutty, toasted aroma that intensifies as the breadcrumbs turn golden. If you ever doubt the timer, follow your nose—when the scent shifts from raw oil to a warm, buttery perfume, the sticks are ready to flip. This sensory cue saves you from over‑cooking and ensures a consistently perfect result.
The 5‑Minute Rest That Changes Everything
After frying, let the sticks rest for exactly five minutes on a wire rack. This short pause allows the interior steam to redistribute, making the cheese center even more gooey while the crust stays crisp. Skipping this step often leads to a soggy bottom because the steam has nowhere to escape. Think of it as a brief meditation for your snack—calm, centered, and ready to shine.
Double‑Coat for Double Crunch
If you love an extra crunch, give each stick a quick second dip in the breadcrumb mixture after the first coat. This creates a thicker armor that stays crispy even after the sticks cool down. I tried this once for a party and the guests were amazed at how the sticks stayed crunchy for hours. Just be sure the second coating is light; too much can become a bread‑pudding.
Seasoning the Oil
Add a pinch of smoked paprika and a tiny drizzle of garlic‑infused oil to the frying oil itself. This subtle infusion flavors the exterior beyond the breadcrumb coating, giving each bite a layered depth. I discovered this trick after a friend complained that the sticks tasted “bland” despite the seasoning on the breadcrumbs. A little flavor boost in the oil solves that problem instantly.
Creative Twists and Variations
This recipe is a playground. Here are some of my favorite ways to switch things up:
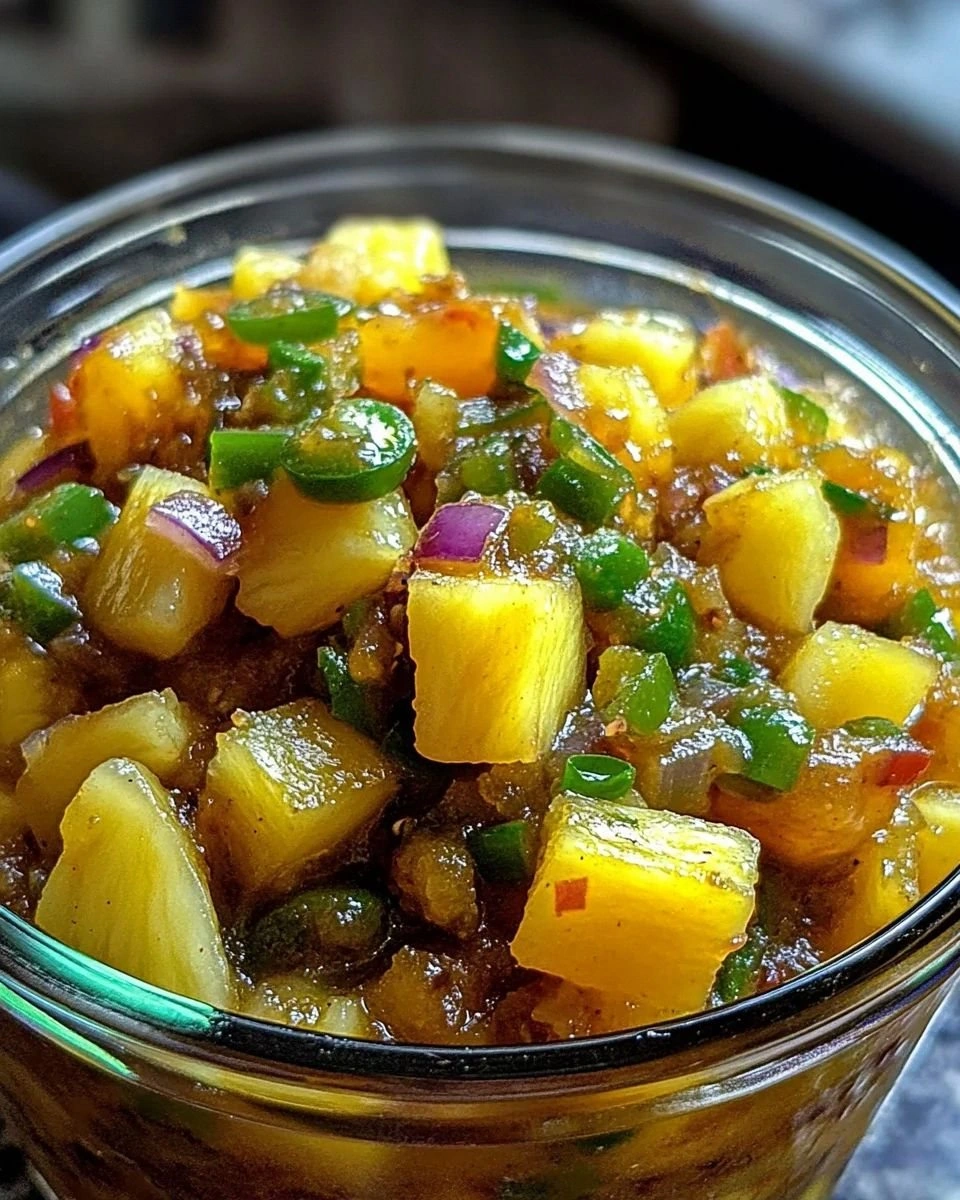
Spicy Jalapeño Kick
Finely dice a couple of jalapeños and fold them into the potato‑cheese mixture. The heat pairs beautifully with the cool sour cream dip, making each bite a surprise fireworks show. Perfect for those who love a little burn.
Herb‑Infused Delight
Add a tablespoon of chopped fresh dill or parsley to the breadcrumb coating. The herbaceous notes brighten the snack and give it a fresh, spring‑time vibe. Great for serving alongside a light cucumber‑yogurt sauce.
Cheesy Bacon Bomb
Crumble cooked bacon into the cheese before mixing. The smoky bacon pieces melt into the cheese core, creating pockets of salty goodness that make the sticks even more addictive. Serve with a smoky aioli for a double‑smoke experience.
Sweet‑And‑Savory Twist
Swap half the cheddar for a mild, slightly sweet cheese like Gouda, and add a pinch of cinnamon to the breadcrumb mix. The result is a subtle sweet undertone that pairs surprisingly well with a honey‑mustard dip. It’s a conversation starter on any snack table.
Vegan Version
Replace the potatoes with cauliflower rice, use a plant‑based cheese blend, and coat with panko breadcrumbs tossed in nutritional yeast. The texture changes, but the crispiness remains, offering a cruelty‑free alternative that still satisfies the cheese craving.
Storing and Bringing It Back to Life
Fridge Storage
Place the cooled sticks in an airtight container lined with a paper towel to absorb any excess moisture. They’ll stay crisp for up to three days, though the first day is always the best. Reheat in a hot skillet for a minute on each side to revive the crunch.
Freezer Friendly
Lay the uncooked sticks on a parchment sheet and freeze until solid, then transfer them to a zip‑top bag. This flash‑freeze method prevents them from sticking together. When you’re ready to serve, fry them straight from frozen, adding an extra 30 seconds per side.
Best Reheating Method
To bring them back to life, preheat your oven to 375°F (190°C), arrange the sticks on a wire rack, and spray lightly with cooking spray. Bake for 8‑10 minutes until the crust regains its golden hue. Pro tip: Add a tiny splash of water to the bottom of the pan; the steam helps melt the cheese without drying it out.