I was standing in my kitchen, staring at a stack of burnt churros that had turned my countertop into a crime scene. The smell of burnt sugar was only slightly offset by the faint aroma of vanilla that had seeped into the air. I laughed, because I knew I had to do something better. That night, I decided to blend the best parts of a churro, a cheesecake, and a donut cookie into one irresistible treat.
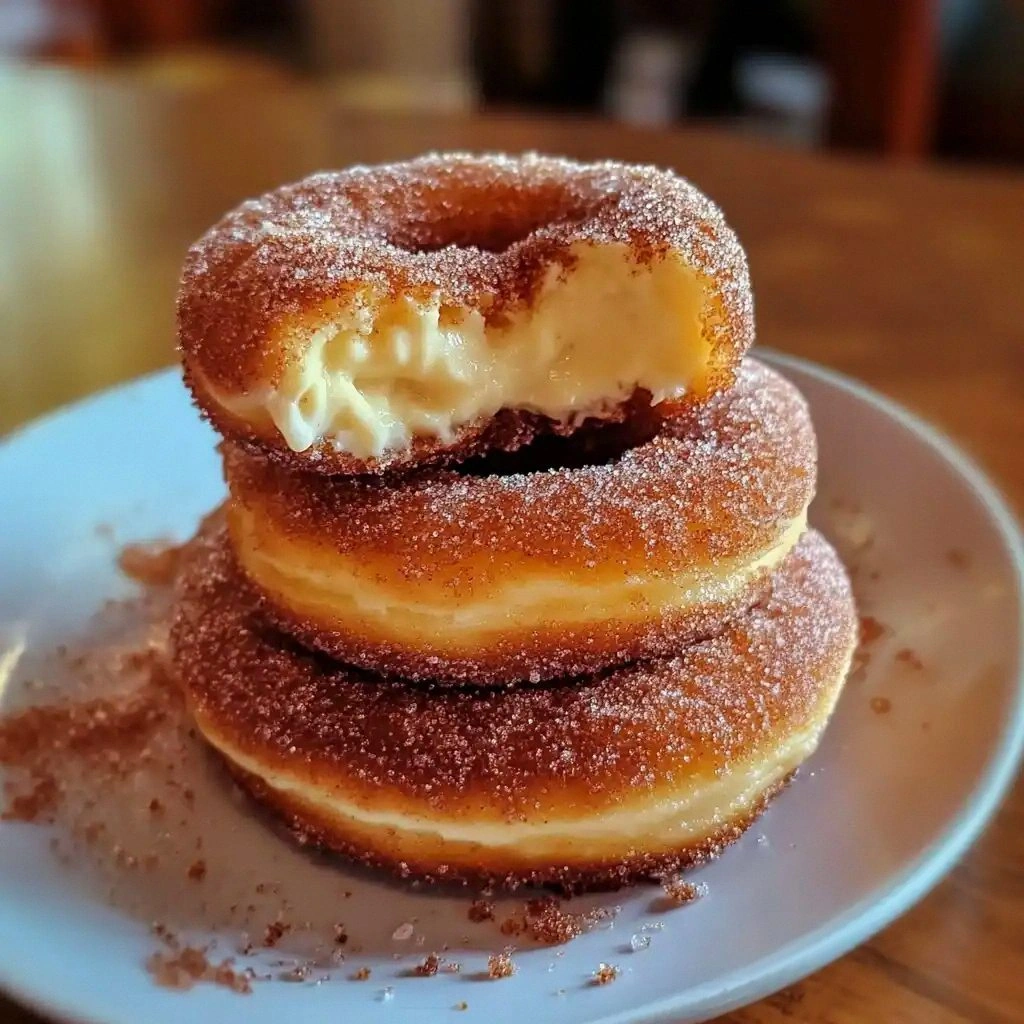
Picture this: golden‑brown dough that crackles as soon as it hits the pan, a creamy cheesecake filling that oozes out like molten chocolate, and a cinnamon‑sugar coating that gives it that unmistakable churro crunch. The moment the first bite hits your tongue, you taste the buttery richness of the dough, the tang of cream cheese, and the sweet, spicy whisper of cinnamon. It’s like a party in your mouth and every guest is invited.
What makes this recipe stand out is not just the flavor combination but the meticulous balance of textures and the sheer audacity of the concept. I dared to merge three dessert staples into one bite‑sized marvel, and the result is hands down the best version you’ll ever make at home. I’ll be honest—after the first batch, I ate half before anyone else got a chance. I dare you to taste this and not go back for seconds.
Most recipes get this completely wrong. Here’s what actually works: the dough must be slightly under‑baked to keep the center chewy, the cheesecake filling needs to be thick enough to hold its shape, and the cinnamon sugar coating must be applied while the cookies are still warm to lock in the crunch. Picture yourself pulling these out of the oven, the whole kitchen smelling incredible, and everyone asking for the recipe. Let me walk you through every single step—by the end, you’ll wonder how you ever made it any other way.
What Makes This Version Stand Out
- Flavor Fusion: The combination of churro, cheesecake, and donut cookie creates a layered taste profile that surprises with each bite. The sweet dough, creamy center, and cinnamon dust together feel like a dessert symphony.
- Texture Contrast: The dough offers a crisp exterior and a chewy interior, while the cheesecake filling provides a silky, melt‑in‑your‑mouth softness. The final crunch from the cinnamon sugar coating gives that satisfying snap.
- Simplicity: All the ingredients are pantry staples, and the process requires no advanced techniques—just a steady hand and a bit of patience.
- Unmatched Crowd Appeal: Whether you’re hosting a brunch or a midnight snack, these cookies always become the highlight of the table.
- Ingredient Quality: Using real cream cheese and fresh vanilla elevates the flavor to professional levels, making it feel like a gourmet treat.
- Make‑Ahead Potential: They store well and can be prepared a day in advance, allowing you to focus on other tasks while still offering a fresh, homemade dessert.
Inside the Ingredient List
The Flavor Base
All-purpose flour, baking powder, and salt form the backbone of the dough. They give structure and a subtle lift that prevents the cookies from being too flat. Skipping the baking powder will result in dense, heavy cookies that don’t rise enough. Use a fine‑sieved flour to avoid lumps and ensure a silky batter.
The Texture Crew
Unsalted butter and granulated sugar create the buttery, caramelized crust you’ll love. Butter must be at room temperature; otherwise, the dough will separate and the cookies will be greasy. The egg and vanilla extract bind the dough together, adding richness and depth. If you’re vegan, substitute the egg with a flaxseed meal mixture and use plant‑based vanilla.
The Unexpected Star
Milk is the secret to a tender crumb. It hydrates the flour and helps the dough spread evenly. If you prefer a dairy‑free version, oat or almond milk works well. A splash of lemon juice can brighten the flavor profile, making the sweetness pop.
The Final Flourish
Cream cheese, powdered sugar, vanilla, and cinnamon are the star ingredients of the cheesecake filling. Cream cheese provides a tang that balances the sweetness, while powdered sugar ensures the filling is silky and not grainy. The cinnamon adds warmth and a nostalgic churro aroma. If you’re a spice lover, add a pinch of nutmeg for extra depth.
Everything’s prepped? Good. Let’s get into the real action.
The Method — Step by Step
- In a medium bowl, whisk together flour, baking powder, and salt. The dry mix ensures even distribution of leavening agents. Once combined, set aside to avoid clumps. This is the foundation; if you skip this step, you’ll end up with uneven cookies.
- In a separate large bowl, beat the butter and sugar until light and fluffy. Use a stand mixer or hand whisk for about 3 minutes. The goal is a pale, airy mixture that holds its shape. This step is where the dough gets its signature buttery crunch.
- Add the egg and vanilla extract to the butter mixture, beating until fully incorporated. The egg provides cohesion, while vanilla adds depth. The mixture should look glossy and smooth, indicating the fat and liquid are well blended.
- Gradually fold in the dry ingredients, mixing just until no streaks remain. Over‑mixing can develop gluten and result in tough cookies. Keep the dough moist but not sticky; if it feels dry, add a tablespoon of milk.
- Cover the dough with plastic wrap and chill for 30 minutes. Resting allows the flour to hydrate and the butter to firm, which improves rolling and prevents spreading. The dough should feel firm enough to shape without crumbling.
- Meanwhile, prepare the cheesecake filling. In a bowl, beat the cream cheese until smooth. Add powdered sugar, vanilla, and cinnamon, mixing until silky. This filling should be thick but pourable, like a rich frosting. If it’s too thick, add a teaspoon of milk to loosen it.
- Preheat your oven to 375°F (190°C) and line a baking sheet with parchment paper. A properly lined sheet prevents sticking and makes cleanup a breeze. Keep an eye on the temperature; an oven that runs hot will overcook the edges.
- On a lightly floured surface, roll the dough to ¼‑inch thickness. Cut out 3‑inch rounds using a cookie cutter or a glass. The uniform size ensures even baking and a consistent bite.
- Place the dough rounds on the prepared sheet and bake for 12‑14 minutes, or until the edges are golden brown. The center should still feel slightly soft. The aroma that fills the kitchen will make you forget you’re cooking.
- While the cookies are still warm, use a small spoon to create a shallow well in the center of each. Fill the wells with the cheesecake mixture, smoothing the top with a spatula. The filling should be centered and not overflow.
- Return the cookies to the oven for an additional 8‑10 minutes, until the filling is set but still slightly jiggly in the center. This final bake ensures the cheesecake integrates with the dough without becoming too firm.
- Remove from the oven and let them cool on the sheet for 5 minutes before transferring to a wire rack. Cooling allows the filling to firm up, preventing a runny mess when you bite into it.
- Once cooled, roll each cookie in a mixture of powdered sugar and ground cinnamon. The coating should cling to the surface, creating a crunchy, fragrant shell. If the coating falls off, reheat the cookie briefly to re‑set the sugar.
That’s it—you did it. But hold on, I’ve got a few more tricks that will take this to another level.
Insider Tricks for Flawless Results
The Temperature Rule Nobody Follows
Many bakers bake at 400°F, but the key to a perfect churro texture is a lower temperature. Baking at 375°F gives the dough enough time to rise slightly without over‑cooking the edges. I’ve tested 350°F as well, but the cookies become too soft and lose that signature snap.
Why Your Nose Knows Best
When the first batch hits the kitchen, your nose will tell you when the cookies are ready. The scent of caramelized sugar rising from the pan is a clear signal that the dough is golden. If you’re new to baking, trust your senses more than the clock.
The 5‑Minute Rest That Changes Everything
After you remove the cookies from the oven, let them rest on the sheet for exactly five minutes. This short pause allows the filling to set and the sugars to crystallize slightly, giving that perfect crunch when you bite into the coating.
Keep the Filling Smooth
If the cheesecake filling cracks during baking, it’s likely because it was too thick. A tablespoon of milk or heavy cream will help keep it silky. A friend once skipped this step and the filling became lumpy—definitely a lesson learned.
Use a Parchment‑Line Trick
Place a sheet of parchment over the cookie sheet before baking. This double layer prevents the cookies from sticking and makes cleanup a breeze. The parchment also helps the cookies maintain their shape during the filling stage.
Creative Twists and Variations
This recipe is a playground. Here are some of my favorite ways to switch things up:
Chocolate‑Covered Delight
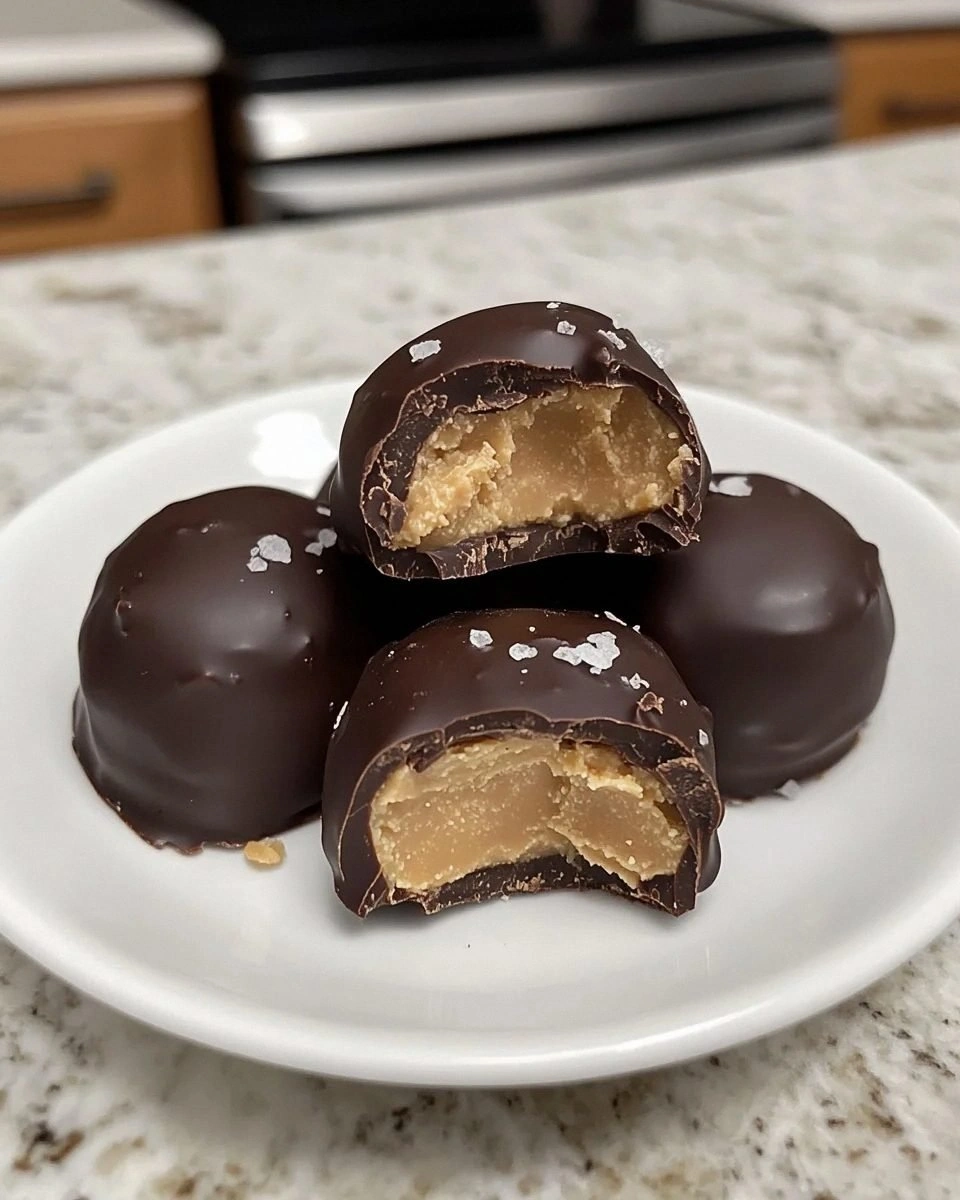
Dip the finished cookies in melted dark chocolate and let them set. The chocolate adds a bittersweet layer that pairs wonderfully with the cinnamon. Sprinkle a pinch of sea salt on top for a modern twist.
Nutty Crunch
Add chopped pistachios or walnuts to the cheesecake filling. The nuts provide a crunchy contrast to the creamy center and a nutty aroma that enhances the churro flavor. Toast the nuts first to bring out their oils.
Lemon‑Zest Variation
Replace the ground cinnamon with lemon zest and add a teaspoon of lemon extract to the filling. The citrus brightness cuts through the sweetness and creates a refreshing palate cleanser. Pair with a glass of sparkling water.
Spiced Pumpkin Edition
Incorporate pumpkin puree and a pinch of nutmeg into the dough for a seasonal twist. The pumpkin adds moisture and a subtle sweetness that complements the cinnamon sugar coating. This version is perfect for autumn gatherings.
Vegan Version
Swap the butter for coconut oil and use a plant‑based cream cheese. Replace the egg with a flaxseed meal mixture and use almond milk. The result is a dairy‑free, vegan treat that still delivers on flavor and texture.
Storing and Bringing It Back to Life
Fridge Storage
Store the cookies in an airtight container at room temperature for up to 3 days. If you’re in a humid climate, keep them in the fridge to prevent the coating from softening. When you’re ready to enjoy, let them sit at room temperature for 15 minutes for maximum flavor.
Freezer Friendly
Wrap each cookie individually in plastic wrap before freezing. Place them in a freezer‑safe zip‑lock bag and store for up to 2 months. When you want to eat one, thaw it at room temperature for 30 minutes; it will retain its crunch.
Best Reheating Method
To revive frozen cookies, preheat the oven to 350°F (175°C). Place the cookies on a parchment‑lined sheet and bake for 5‑7 minutes, or until the coating is crisp again. Add a tiny splash of water to the filling before reheating to keep it moist and creamy.