Picture this: it’s a rainy Tuesday, you’re stuck at work, the clock is ticking toward that dreaded 3 p.m. slump, and a coworker slides a spoonful of a glossy, amber liquid onto a biscuit and says, “You have to try this.” I was skeptical at first—most caramel sauces I’ve tasted either taste like burnt sugar or melt like butter in the sun. But the moment that velvety drizzle hit my tongue, a cascade of buttery, salty‑sweet notes exploded, and I swear I heard a choir of angels humming in the breakroom. That was the moment I knew I had stumbled onto something magical, and I was determined to reverse‑engineer that miracle in my own kitchen.
The kitchen was a mess that day: a half‑melted block of vegan butter on the counter, a jar of maple syrup that had been shaking for weeks, and a stubborn pot that seemed determined to stick to anything I threw in it. The air was thick with the scent of burnt coffee and the faint hum of office chatter, but the caramel’s sweet perfume cut through everything like a siren. I could hear the faint sizzle of sugar meeting heat, feel the heat radiating from the stove, see the sauce turning a deep, glossy gold, and taste the first hint of that perfect balance of salty and sweet. It was a full‑on sensory overload that made me realize I was about to create a sauce that could turn any dessert into a masterpiece.
Most vegan caramel recipes out there either rely on heavy cream or take forever to achieve that glossy sheen. This version, however, cheats the clock and the pantry alike. By harnessing the natural emulsifying power of coconut milk and a splash of maple syrup, I’ve cut the cooking time down to five minutes without sacrificing depth of flavor. I’ll even throw in a secret ingredient that most chefs keep under lock and key—just a pinch of smoked sea salt that adds a whisper of complexity you won’t find in any store‑bought version. I dare you to taste this and not go back for seconds; I’m betting you’ll be shouting “again!” from the first spoonful.
Okay, ready for the game‑changer? I’m about to walk you through every single step—by the end, you’ll wonder how you ever made caramel any other way. This isn’t just a sauce; it’s a ticket to dessert heaven, a glossy coating that clings to everything like velvet, and a conversation starter that will have your friends asking for the recipe before the last drop is even drizzled. Let’s dive in.
What Makes This Version Stand Out
- Speed: While traditional caramel can take 20‑30 minutes of careful stirring, this version hits peak flavor in just five minutes, giving you more time to enjoy the results than to watch the pot.
- Vegan‑Friendly: No dairy, no gelatin, no hidden animal products—just plant‑based goodness that still delivers that luxurious mouthfeel you crave.
- Flavor Depth: The combination of coconut milk, maple syrup, and smoked sea salt creates a layered taste profile that feels both familiar and surprising.
- Texture: Silky, smooth, and perfectly glossy—this sauce coats fruit, ice cream, and pancakes like a satin sheet, never grainy or curdled.
- Ingredient Simplicity: Only seven pantry staples are needed, all of which are likely already in your cupboard or can be grabbed in a quick trip to the store.
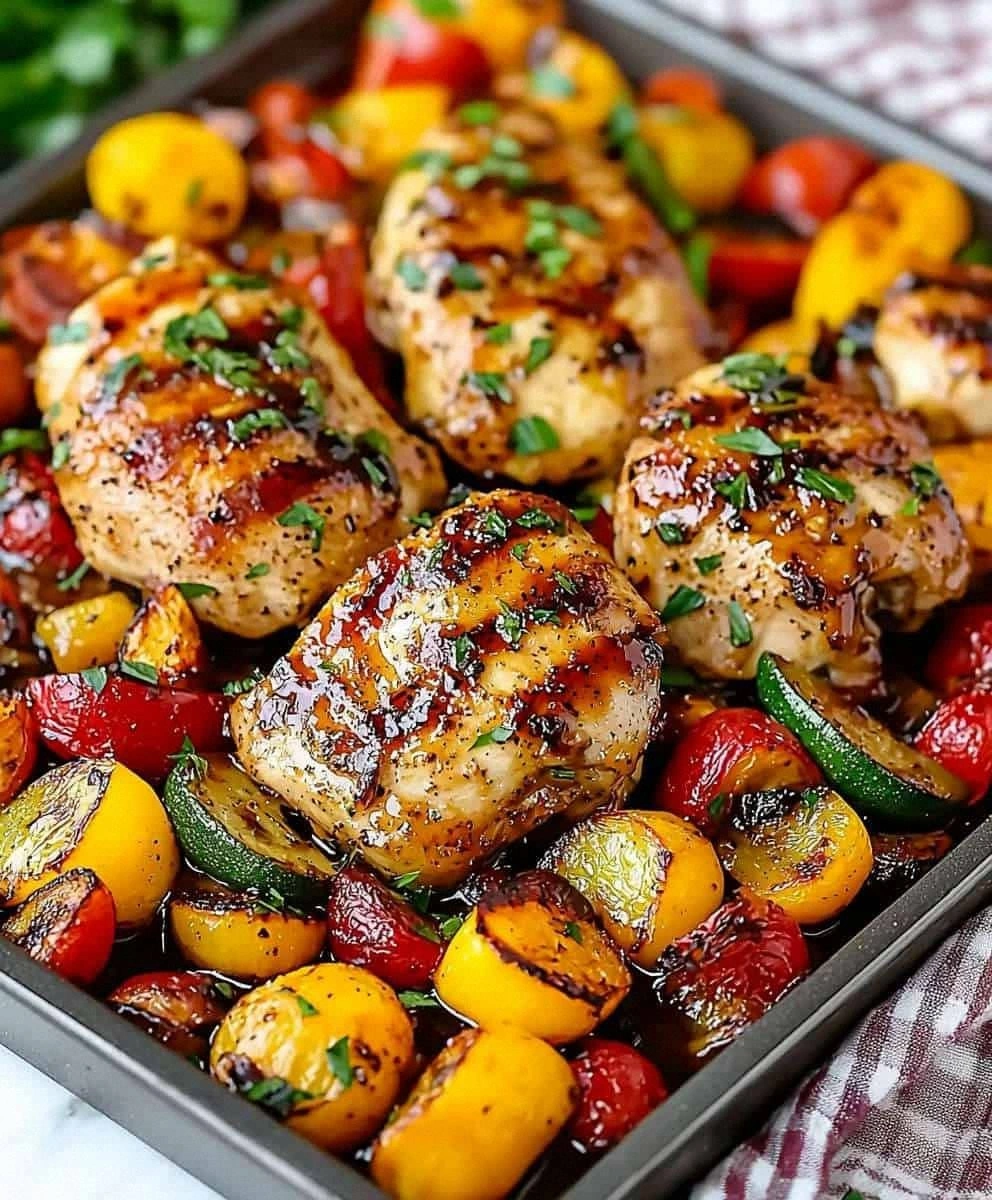
- Versatility: Drizzle over anything from vegan cupcakes to roasted sweet potatoes, and it instantly upgrades the dish.
- Make‑Ahead Potential: Store it in the fridge for up to a week, and it reheats beautifully, maintaining that fresh‑made sheen.
- Crowd Reaction: Expect gasps, compliments, and the inevitable request for “the secret”—the secret being no secret at all once you know the steps.
Inside the Ingredient List
The Flavor Base
Coconut milk (full‑fat) is the heart of this sauce. Its natural fats act as an emulsifier, binding the sugar and maple syrup into a unified, glossy texture. If you skimp on the fat content, you’ll end up with a watery, split sauce that looks more like a sad syrup than a caramel. For the best results, choose a brand that lists “coconut cream” as the first ingredient—this guarantees a rich mouthfeel. If you’re allergic to coconut, you can swap in oat milk, but expect a slightly thinner consistency.
The Sweet Symphony
Brown sugar provides the deep, caramelized flavor, while maple syrup adds a subtle woody note that balances the richness of the coconut. The two sugars together create a complex sweetness that ordinary white sugar can’t match. Skipping the maple syrup will make the sauce taste one‑dimensional, like any other store‑bought caramel. If you prefer a lower‑glycemic option, try using coconut sugar instead; it will add a hint of caramel‑like flavor while keeping the sugar load in check.
The Unexpected Star
Smoked sea salt is the surprise element that turns a good caramel into a show‑stopper. A pinch of this mineral marvel adds a whisper of smokiness that cuts through the sweetness, preventing the sauce from feeling cloying. If you don’t have smoked salt, regular sea salt works, but the depth of flavor will be diminished. Pro tip: grind the salt just before using to release its aromatic oils.
The Final Flourish
Vegan butter (or a high‑quality coconut oil) finishes the sauce with a silk‑smooth sheen and a buttery richness that mimics traditional dairy caramel. It also helps the sauce coat cold desserts without solidifying too quickly. If you’re watching saturated fat, you can use a tablespoon of almond butter for a nutty twist, but the texture will be slightly thicker.
Everything's prepped? Good. Let’s get into the real action—this is where the magic truly begins.
The Method — Step by Step
Gather all your ingredients and set them within arm’s reach. This isn’t a “throw‑everything‑in‑the‑pot” scenario; timing matters. I always line up the measuring cups, a whisk, and a sturdy saucepan on the stovetop before I turn on the burner. The moment the pan heats up, you’ll hear a faint hum—listen closely, that’s the cue to start the sugar.
Place a medium‑sized saucepan over medium‑high heat and pour in the brown sugar and maple syrup. Stir constantly with a silicone spatula; the mixture should begin to bubble within 30 seconds. You’ll notice the color deepening to a rich amber—this is the caramelization stage, where the sugars start to break down and create those beloved flavor compounds.
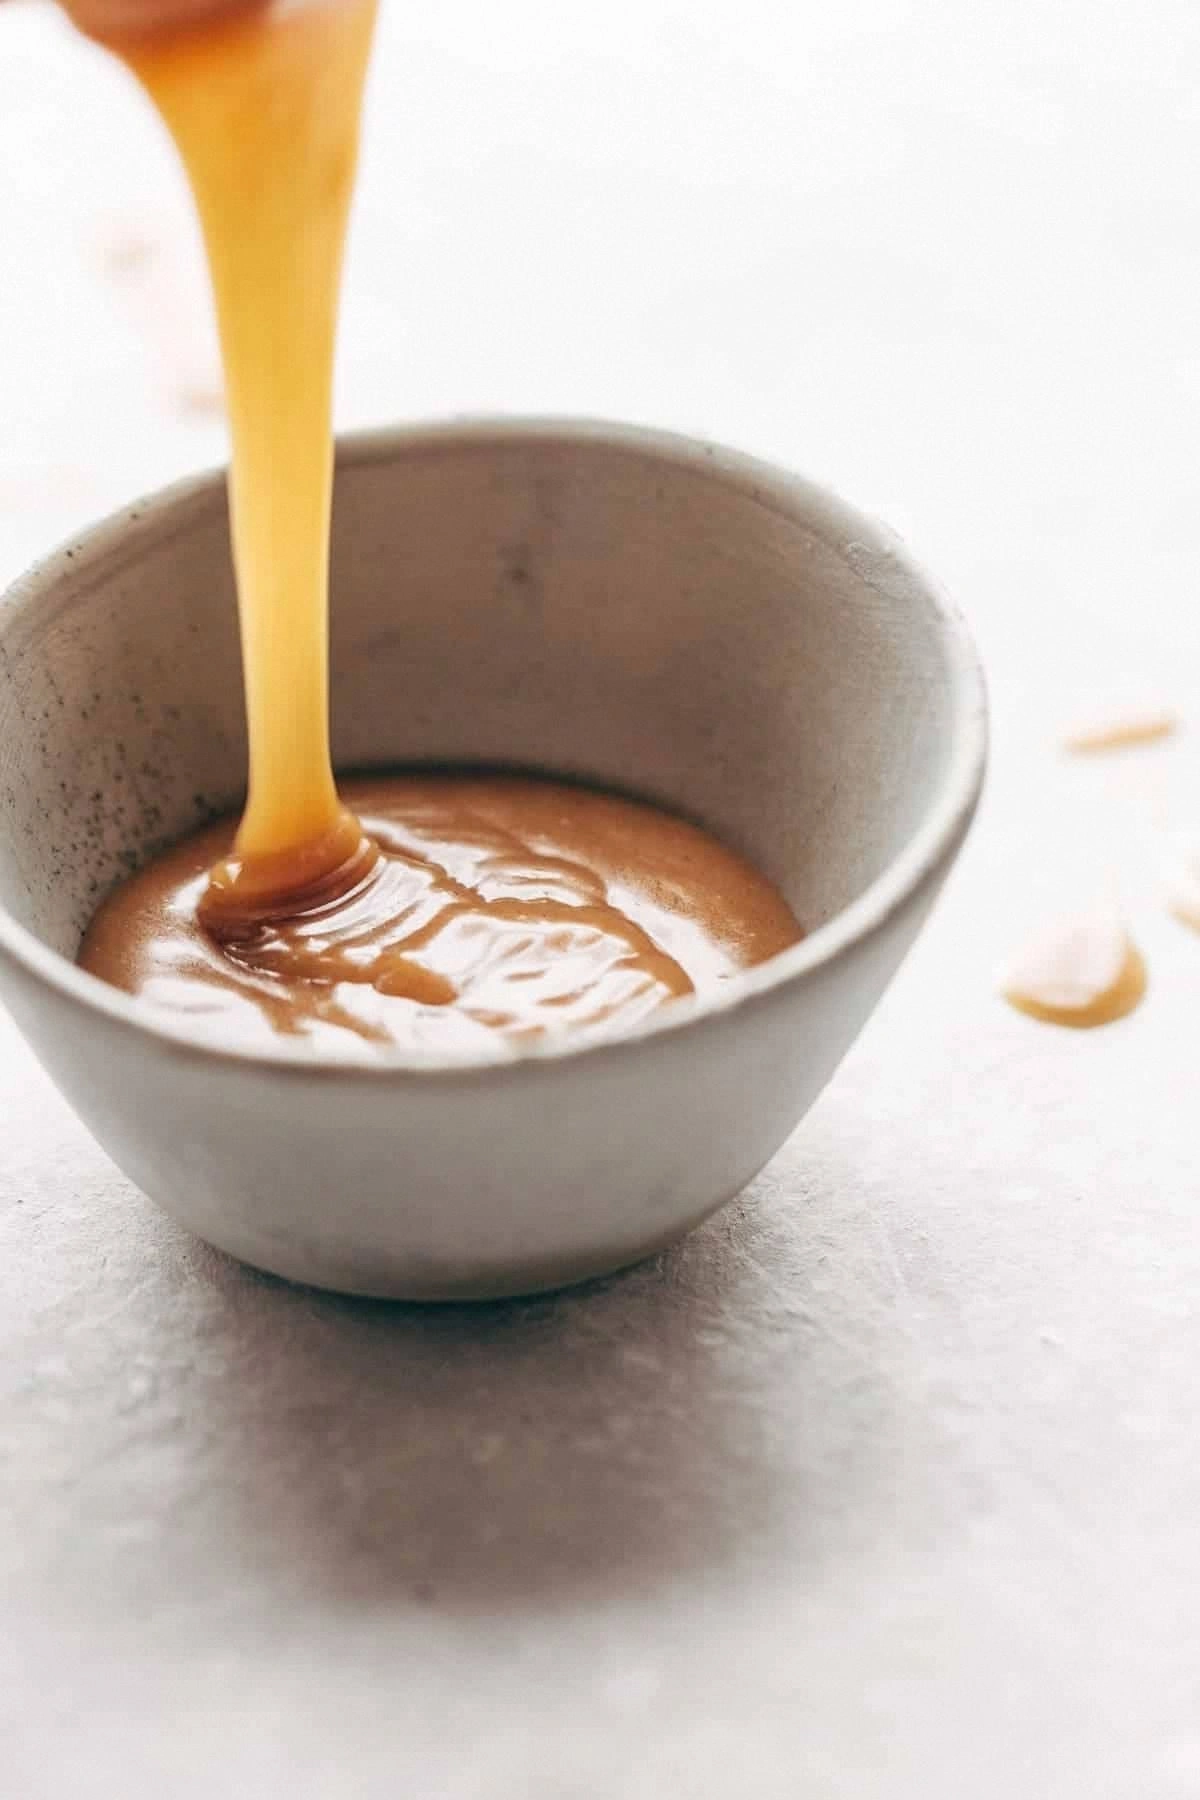
Now, the secret move: slowly drizzle in the coconut milk while whisking vigorously. This prevents the sugar from seizing and ensures a smooth emulsion. The sauce will fizz and puff up as the hot sugar meets the cool liquid—don’t be alarmed, that’s the magic happening.
Kitchen Hack: Pour the coconut milk in a thin, steady stream; this gives you better control and a smoother texture.Reduce the heat to medium and add the coconut cream. The sauce will thicken almost instantly, turning a luscious, glossy sheen. At this point, you should be able to run a spoon through the sauce and see a clean line that slowly disappears—this is your visual cue that the caramel is reaching the perfect consistency.
Stir in the vegan butter, letting it melt completely. This step is crucial for that buttery mouthfeel. As the butter integrates, you’ll notice the sauce becoming even more glossy, almost mirror‑like. If you see any lumps, keep whisking; they’ll dissolve within seconds.
Add the vanilla extract and the smoked sea salt. The vanilla brings a fragrant warmth, while the salt pulls the sweetness back from the brink of cloying. Taste a small spoonful now; it should be sweet with a subtle salty finish and a faint hint of smokiness.
Watch Out: Adding salt too early can cause the sauce to seize; always add it at the very end for best texture.Give the sauce one final vigorous whisk for about 20 seconds. This incorporates air just enough to make the caramel light without turning it foamy. If you’re planning to use the sauce warm, keep it on low heat for another minute, then remove from the stove. If you prefer a cooler, thicker drizzle, let it sit for two minutes; it will thicken as it cools.
Transfer the caramel to a heat‑proof jar or container. The sauce will continue to set slightly as it cools, achieving that perfect pourable consistency. Seal the lid tightly and let it sit at room temperature for five minutes before serving. That short rest allows the flavors to meld and the texture to stabilize.
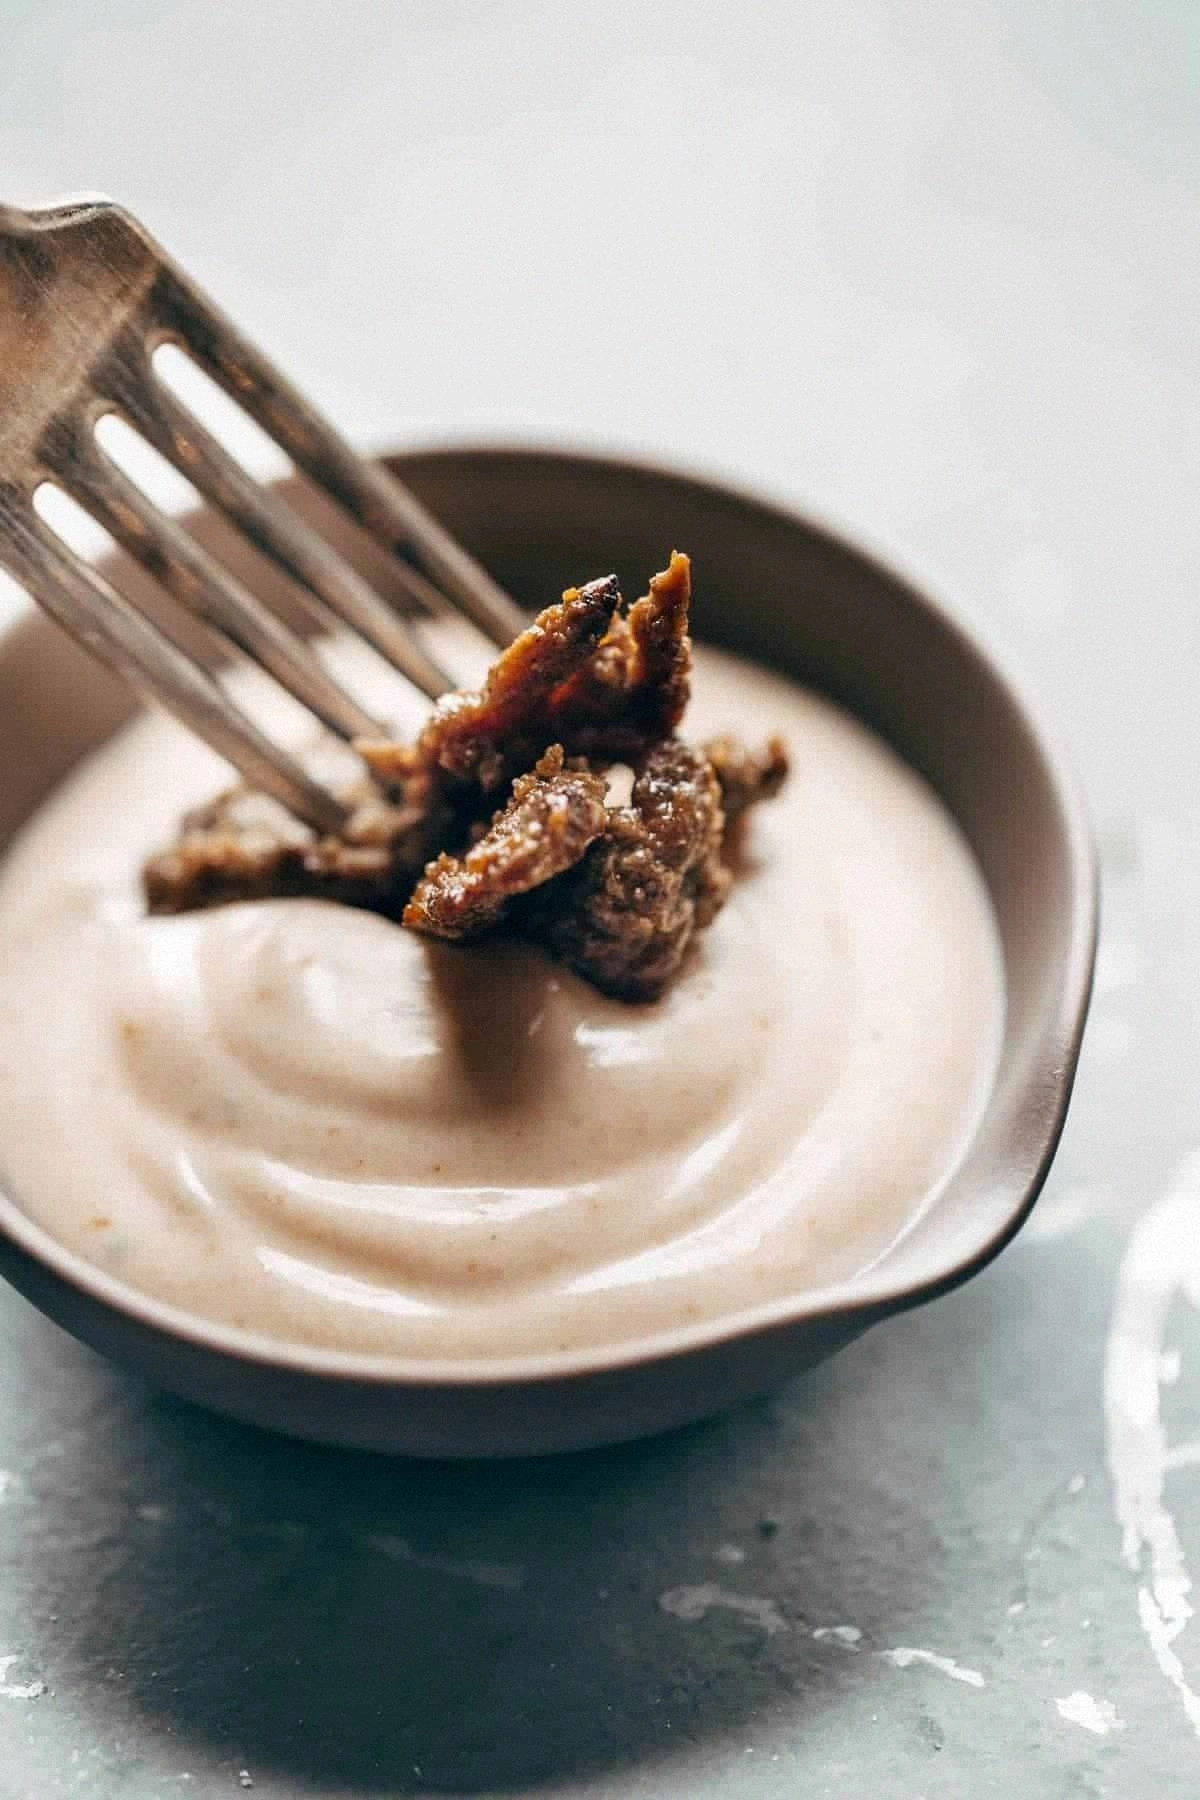
And now the fun part: drizzle, dip, or swirl this caramel over anything you desire. I like to pour it over a scoop of vanilla soy ice cream, letting it cascade down the sides like a golden waterfall. That sizzle when it hits the cold ice cream? Absolute perfection.
Insider Tricks for Flawless Results
The Temperature Rule Nobody Follows
Never cook caramel over high heat for more than a minute. The sugars can burn before the coconut milk has a chance to integrate, leading to a bitter taste. Keep the heat at medium‑high for the initial sugar melt, then drop to medium as you add the liquids. This controlled heat ensures a smooth, non‑grainy texture every time.
Why Your Nose Knows Best
Trust the aroma as your final quality check. When the caramel reaches that deep, buttery scent with a faint hint of smoke, you know the flavor balance is spot on. If you smell a burnt undertone, the sauce is overcooked—remove it from the heat immediately and whisk vigorously to cool it down.
The 5‑Minute Rest That Changes Everything
Allowing the sauce to sit for five minutes after cooking lets the flavors marry and the texture settle. Skipping this rest can result in a sauce that’s too runny or that separates when reheated later. It’s a tiny patience test that yields a huge payoff.
Whisk Like You Mean It
A silicone whisk or spatula works best because it’s flexible enough to follow the sauce’s movements without tearing the emulsion. I’ve seen chefs ruin caramel by using metal whisks that scrape the pan’s bottom, causing scorching. Keep your whisk in constant motion, especially when adding the coconut milk.
Storage Savior
When storing, always leave a tiny gap at the top of the jar before sealing. This prevents pressure build‑up as the sauce cools, which can cause the lid to pop off and the caramel to spill. A snug seal with a small air pocket keeps the sauce fresh for up to a week.
Creative Twists and Variations
This recipe is a playground. Here are some of my favorite ways to switch things up:
Spiced Autumn
Swap the smoked sea salt for a pinch of pumpkin spice and add a splash of pear puree. The result is a caramel that screams fall, perfect for drizzling over pumpkin pancakes or vegan cheesecake.
Chocolate Infusion
Stir in 2 tablespoons of unsweetened cocoa powder after the butter melts. The sauce turns a deep mocha brown, ideal for topping avocado chocolate mousse or vegan brownies.
Nutty Delight
Blend in a tablespoon of almond butter right before the vanilla. This adds a subtle nutty undertone and makes the sauce richer—great for banana splits or as a dip for fresh figs.
Berry Burst
Puree a cup of frozen berries (raspberries, strawberries, or blueberries) and fold it in after step 6. The bright fruit acidity cuts through the sweetness, creating a vibrant caramel‑berry swirl perfect for pancakes.
Savory Splash
For a daring savory twist, add a teaspoon of soy sauce and a dash of smoked paprika. This version works wonders as a glaze for roasted cauliflower or tempeh, turning a side dish into a star.
Coconut‑Rum Fusion
Replace half of the coconut milk with dark rum‑infused coconut milk and add a splash of vanilla rum extract. The caramel gets an adult‑only depth, perfect for topping a vegan tiramisu.
Storing and Bringing It Back to Life
Fridge Storage
Transfer the cooled caramel to a clean, airtight glass jar. Store it in the refrigerator for up to seven days. The sauce will thicken slightly as it chills, but a quick stir will bring it back to a pourable consistency.
Freezer Friendly
For longer storage, pour the caramel into a silicone ice‑cube tray and freeze. Once solid, pop the cubes into a zip‑top bag and keep them for up to three months. When you need a dose of caramel, melt a cube in the microwave for 15‑20 seconds, then stir.
Best Reheating Method
To revive the sauce, place the desired amount in a small saucepan over low heat, adding a splash of water—just enough to create steam. Stir gently until the sauce loosens up and regains its silky sheen. This water‑steam trick prevents the sauce from scorching and keeps the texture flawless.